1. Login
1.1 Url
During the Historian training, you should be given the url to login onto grafana for your site. This should be similar to:
|
|
→ replacing the
Some clients will have access to Grafana via a cloud server. In that case, the url should be similar to:
|
|
→ replacing the
1.2 Credentials
You should have credentials to use to log into grafana.
For some clients, an ldap system is feeding access control to grafana and these credentials can then be used to log in. Note that the mapping between the ldap server and grafana need to be setup by Factry first, to be able to use the ldap system in grafana.
If no ldap system is coupled, users have to be set up by your grafana admin user or can be added by Factry support in the grafana UI.
Manage dashboards and access control
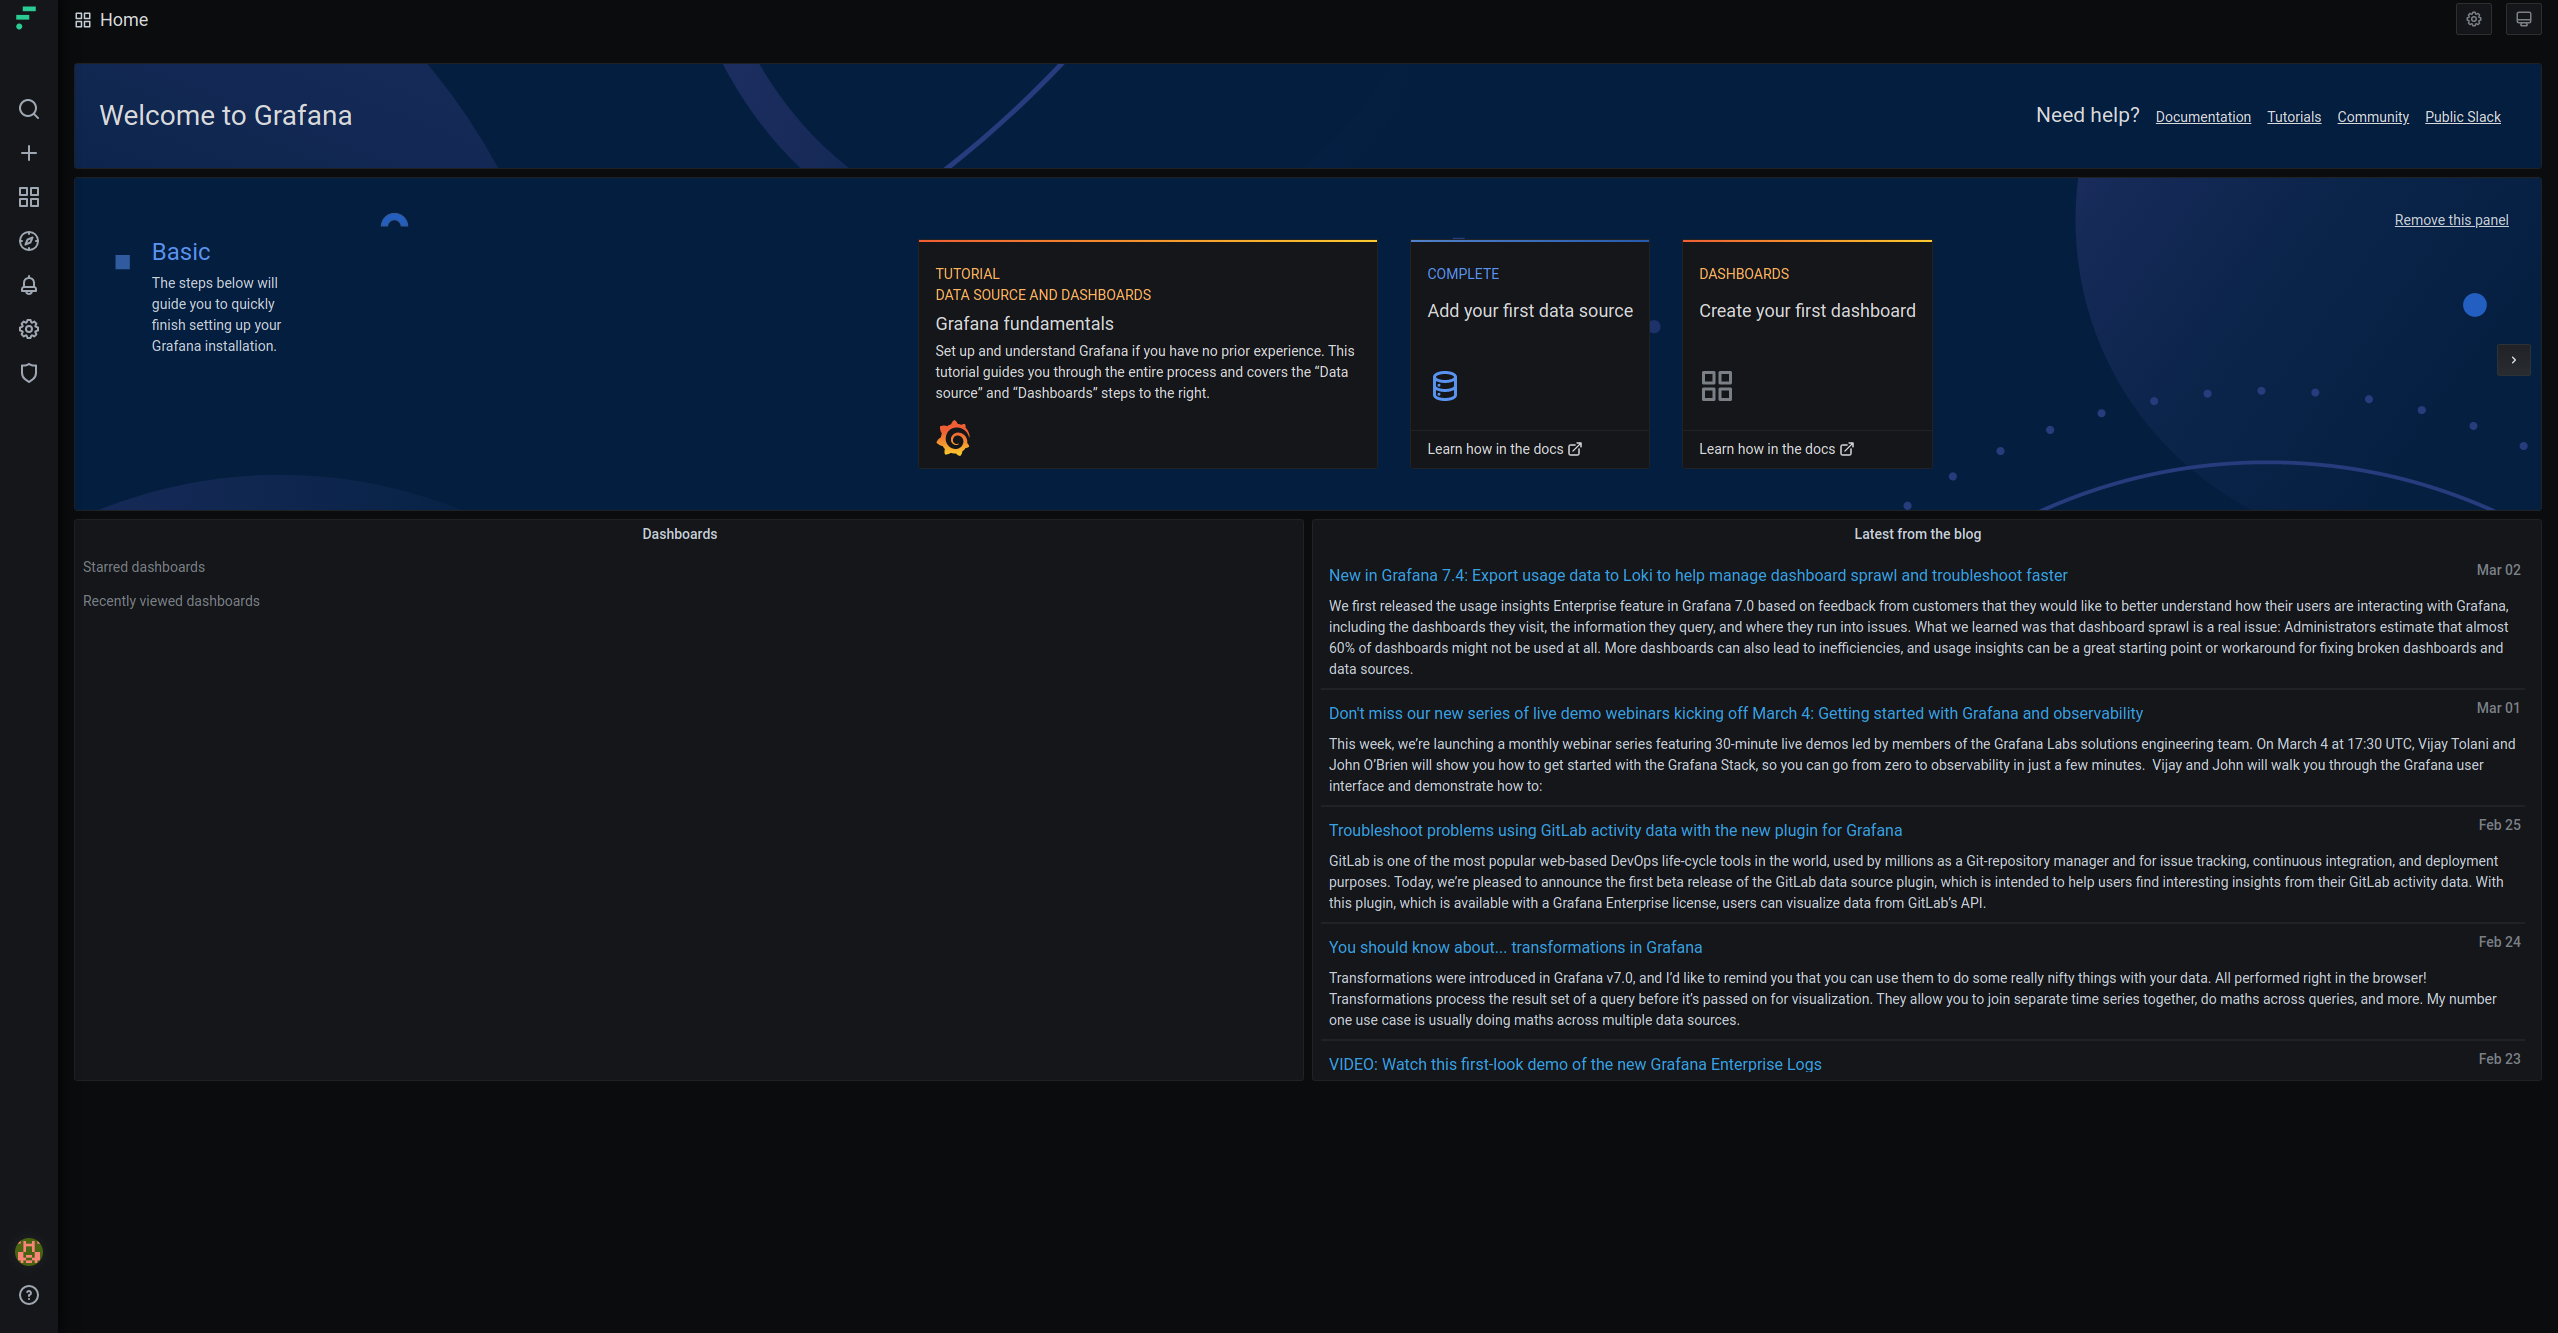
2. Home screen
This is the grafana home screen.
- On the bottom left, there is an overview of your
favorite dashboards. - On the bottom right there is a news log and on top there are information tiles and small grafana tutorial tiles available (not important).
3. Grafana main navigation bar
On the left, the grafana main navigation bar is always visible to the user. Here the main grafana navigation icons can be found.
3.1 Main icons
- The
factry iconacts as ahome button. Click it to return to the home page above. - The
magnifier iconlets yousearchfor existing dashboards. - The
plus iconlets you make anew dashboard. - The
tiles iconopens up a menu with: - another home button (Factry logo is the more convenient choice)
- a
manage dashboardsbutton, which brings you in the overview of allexisting dashboardsfor your site - the playlist and snapshot button (not important)
- The
compass iconbrings up the explore view, letting youexplore the measurementsthat have currently been collected. - The
bell iconbrings up: - an overview of
alertsthat have been set on a particular panel in a particular dashboard - an overview of the possible
communication channelswhich the alert could trigger are in here.

3.2 Admin users
- For the client admin users, the
gearicon is available which lets you setup thesite settings. The ones to focus on are: - setup of
data sources(setup by Factry) - registering
users(setup by site admin or Factry) - adding
pluginsfor extra functionality - setting up
preferences, like theUI colorand thehome dashboardto show. - For the server admin user, the
shieldicon is available, which holds some extraserver,organizationanduser settings.
3.3 User and site settings
- The
colored iconbrings up the settings for the current user. Here you can: - edit your
own profile - add
own site settings - lets you
switch site(if there are multiple), with thecrossed arrows
3.4 Grafana links and version
- The
question mark iconicon brings up: - the link to the
official documentation - the link to the
factry supportsystem - lets you see the current
grafana version