OPC-UA Data collection tutorial
Introduction
In this guide, the complete installation and configuration for an OPC-UA collector is explained, followed by the setup of a measurement.
Prerequisites
- An installed and properly configured Factry Historian, see installing Factry Historian .
- A functioning OPC-UA server.
Step 1 - Create the collector
Go to your Factry Historian collectors page and press Create collector.

Enter a name (and optionally a description) and press Submit.
Finally, click Generate token to generate a token that is stored in your clipboard. Save it somewhere, we’ll need it in the next step.

Step 2 - Install the collector
First make sure you have the latest version of the OPC-UA collector, which can be downloaded here . Make sure to select the correct OS and architecture!
The installation of the collector is done by running the install command on the downloaded binary. The install process will copy the binary to the correct directory and create a collector service on the machine.
Copy the binary to the collector server (the location doesn’t matter).
Windows
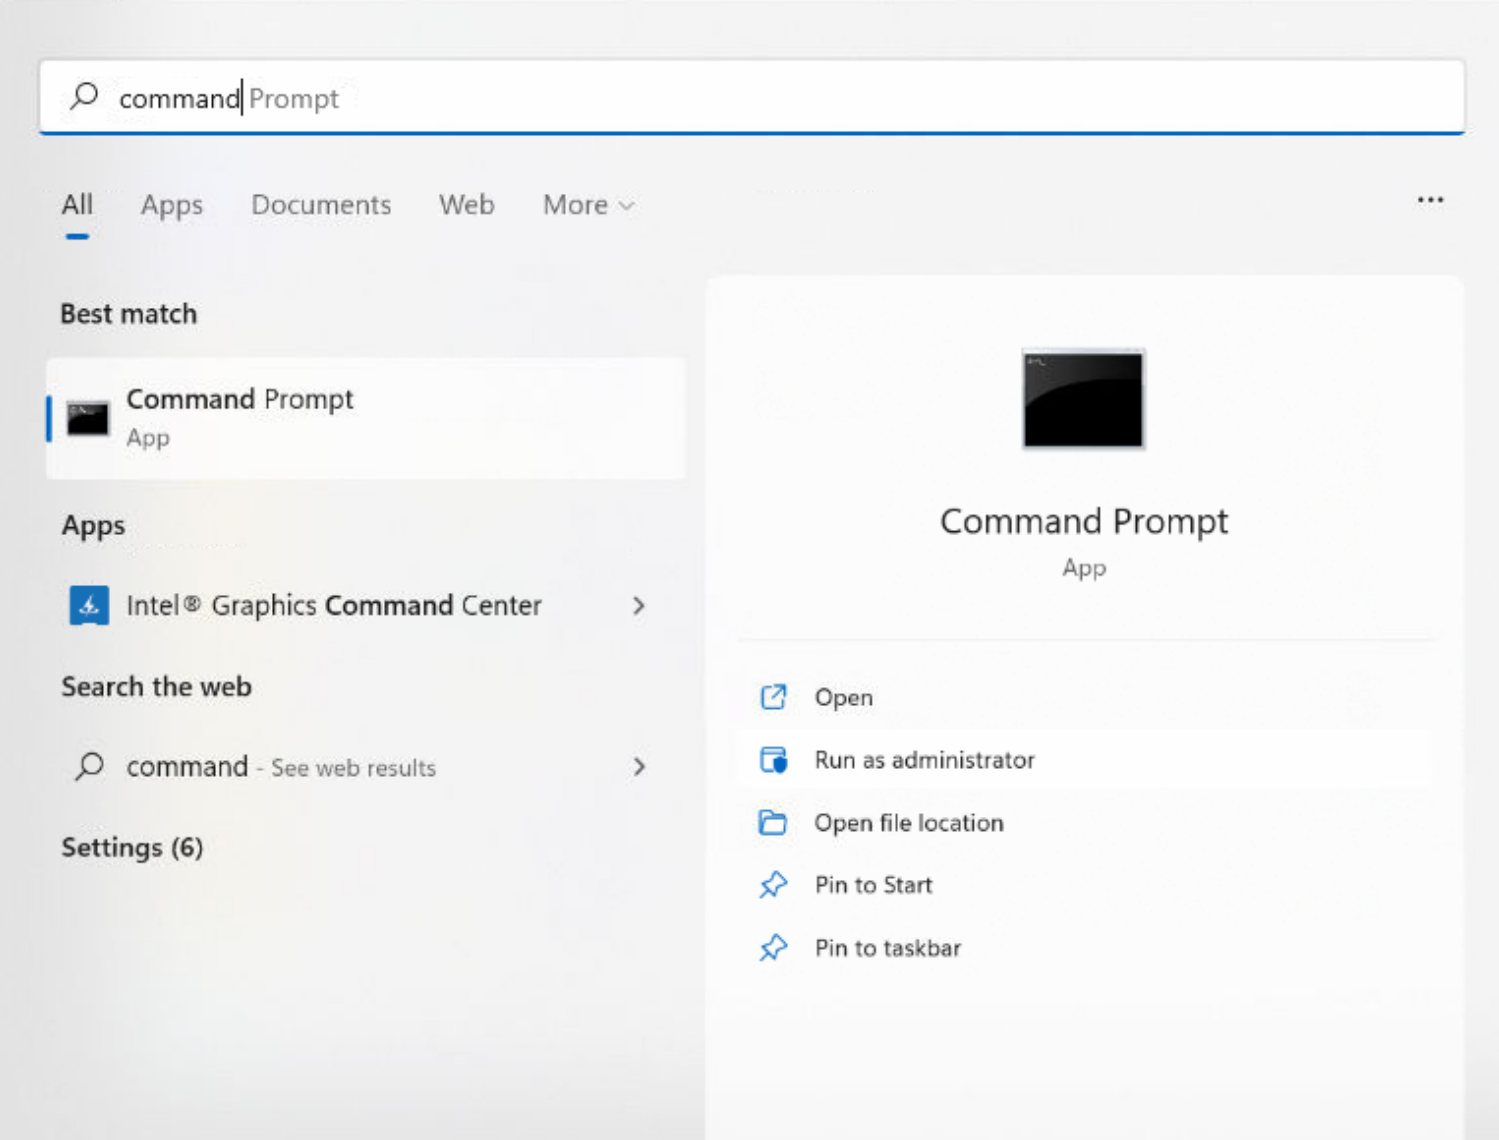
Open a command prompt with administrative privileges and navigate to the folder where you have placed the collector binary.
Run the install command using the saved token from the previous step.
Below is an example for installing an OPC-UA collector with version v1.3.4.
Replace factry-opcua-collector_v1.3.4_windows-x64.exe with the name of the binary you have downloaded and replace token with the saved token from step 1.
Microsoft Windows [Version 10.0.22000.856]
(c) Microsoft Corporation. All rights reserved.

C:\Windows\system32>cd c:\temp
C:\temp>factry-opcua-collector_v1.3.4_windows-x64.exe install -t token
Creating user...
Setup directories...
Installing binary...
Setting permissions...
Creating service...
Starting the OPC-UA collector service...
Successfully installed OPC-UA collector

C:\temp>
Linux
Open a terminal and run the install command. Below is an example for installing an OPC-UA collector with version v1.3.4.
Replace factry-opcua-collector_v1.3.4_linux-x64 with the name of the binary you have downloaded and replace token with the token from step 1.
ubuntu@machine:~$ chmod +x factry-opcua-collector_v1.3.4_linux-x64
ubuntu@machine:~$ sudo ./factry-opcua-collector_v1.3.4_linux-x64 install -t token
[sudo] password for diericd:
Creating user...
Setup directories...
Installing binary...
Setting permissions...
Creating service...
Starting the OPC-UA collector service...
Successfully installed OPC-UA collector
ubuntu@machine:~$
More info about installing a collector can be found here .
Step 3 - Configure the collector
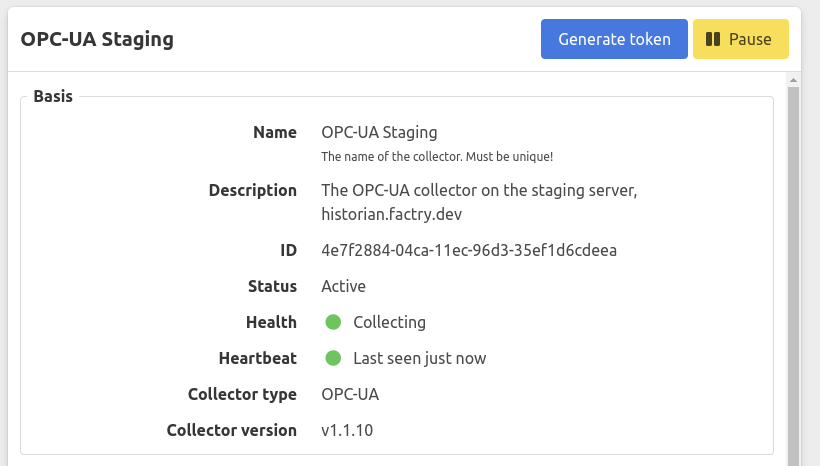
In the webpage of Factry Historian you should be able to see that the collector has been registered.
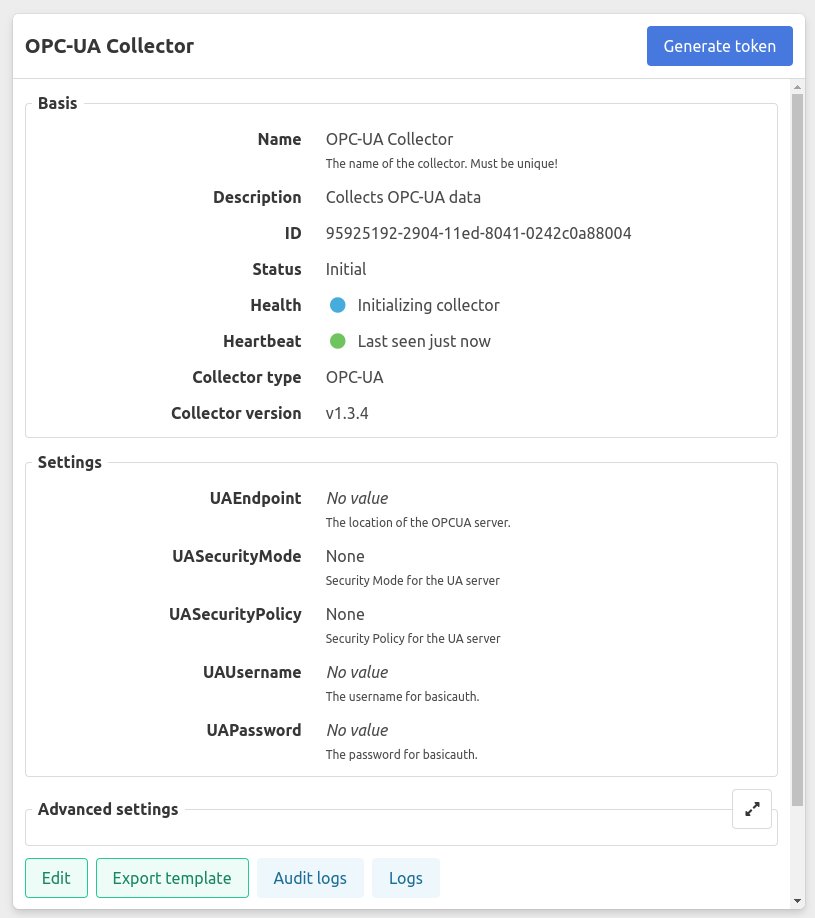
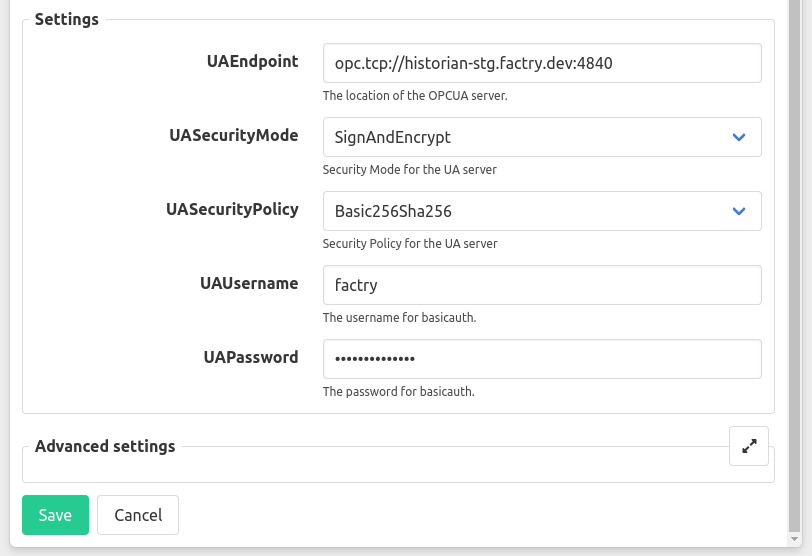
Fill in the settings to allow the OPC-UA collector to connect with the OPC-UA server.
Click the edit button and fill in the UAEndpoint of your OPC-UA server and fill in other optional settings.
After clicking the save button, a green start button will appear in the top right corner. Click this to start the collector.
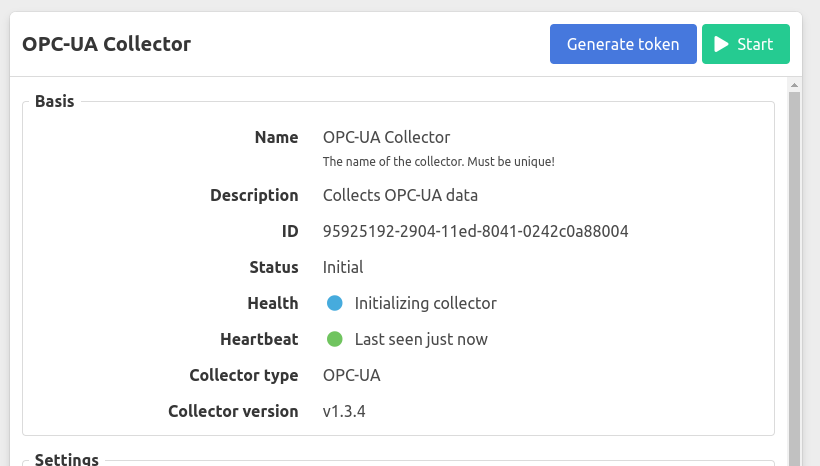
If your connection is successful, the health of the collector will change to Collecting.
Note
If you have set the Security Mode to Sign or SignAndEncrypt, make sure to accept the certificate presented by the collector in the administration interface of the OPC-UA server.
Step 4 - Discover NodeIDs
In this step, an OPC-UA client is used to figure out the node IDs of some measurements to add. Afterwards, sensor data can be collected into Factry Historian!
For this example we will be using UA Expert, a free to use OPC-UA client available here .
Open UA Expert and click the add server button.
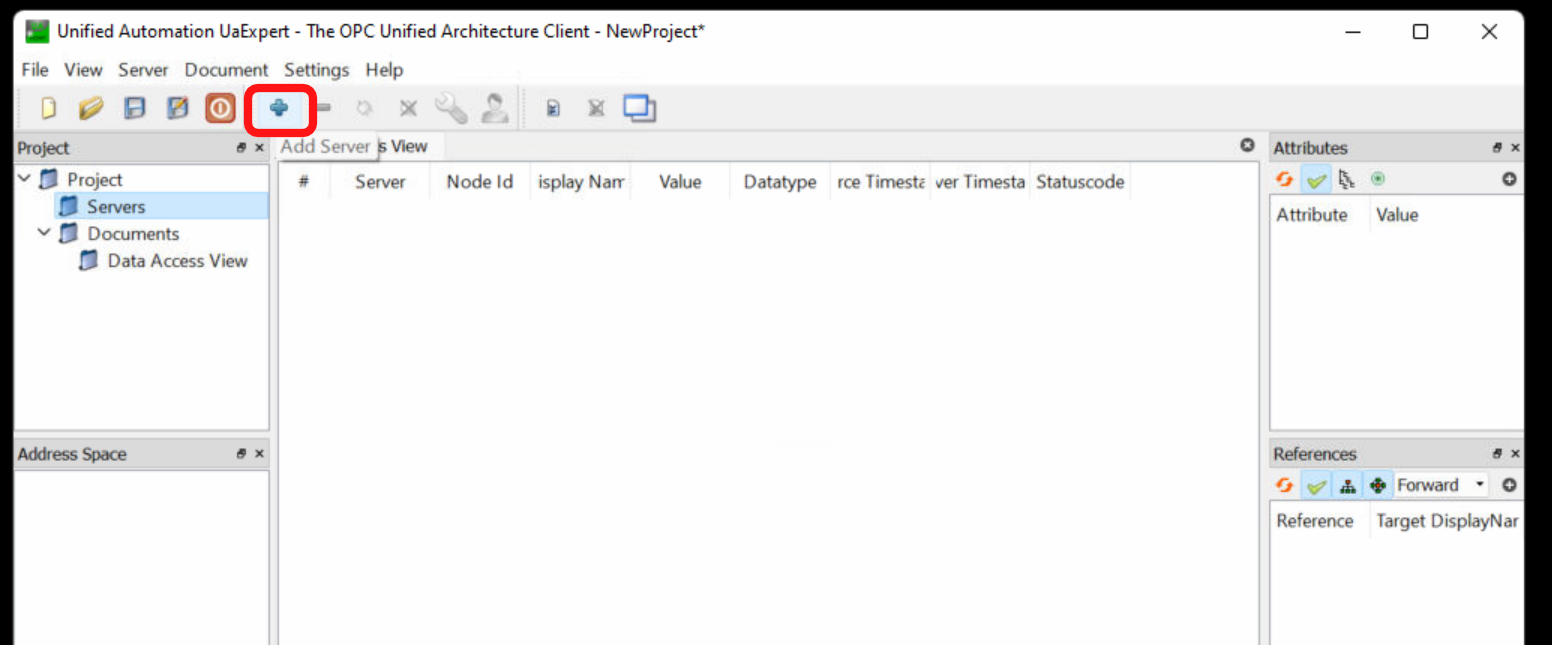
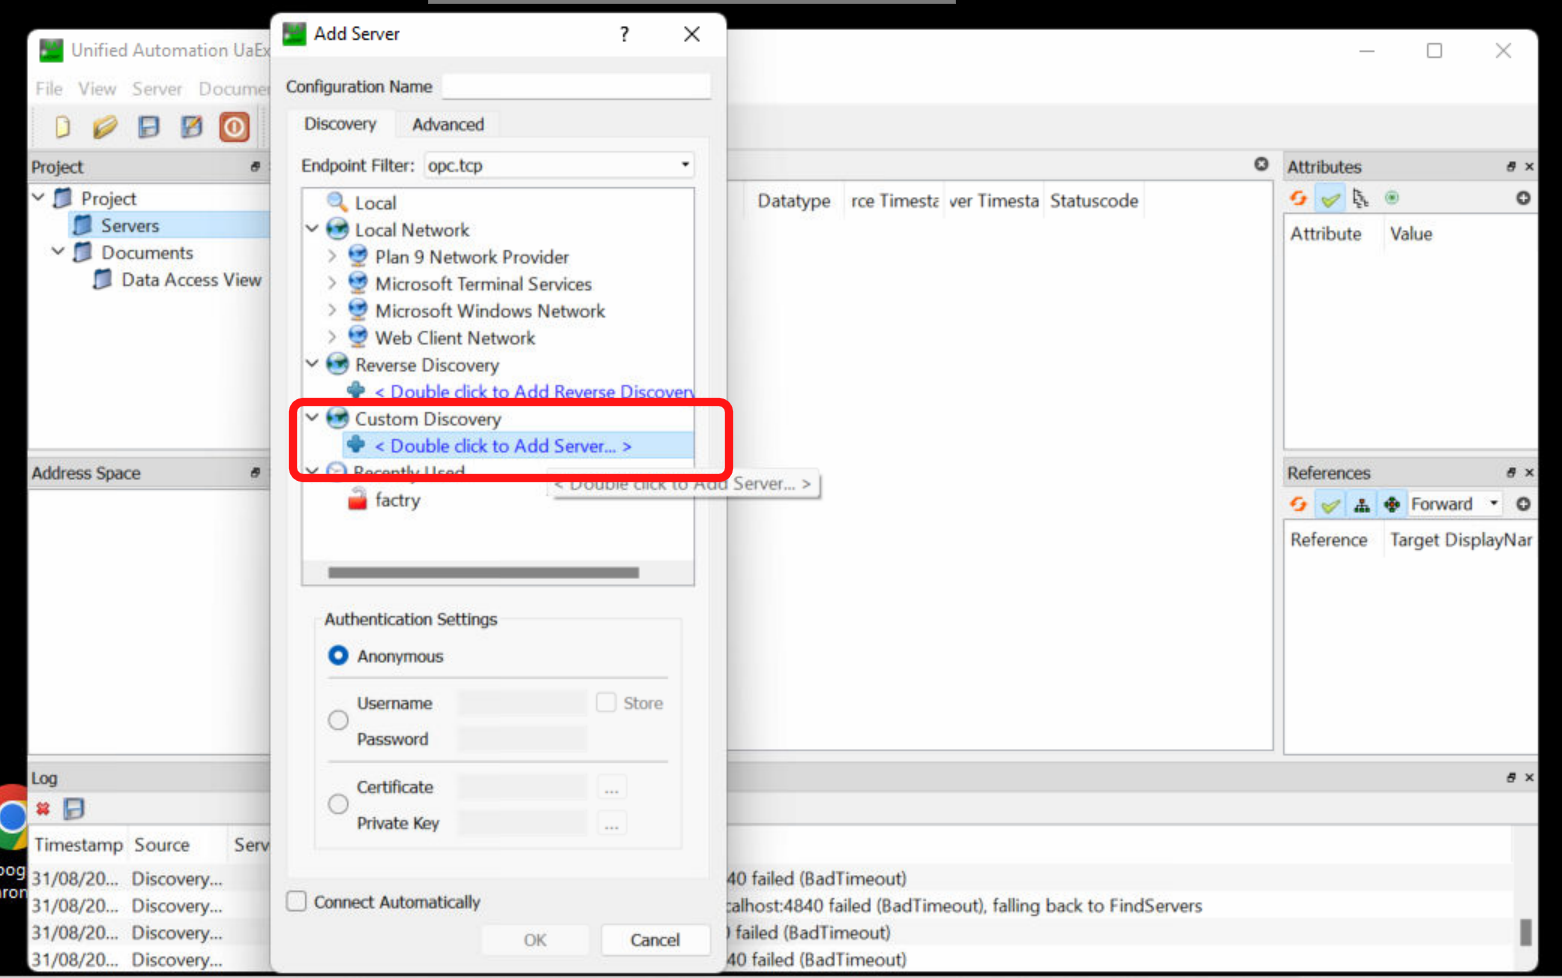
Double click on the node below Custom Discovery and enter the connection URL for the OPC-UA server.
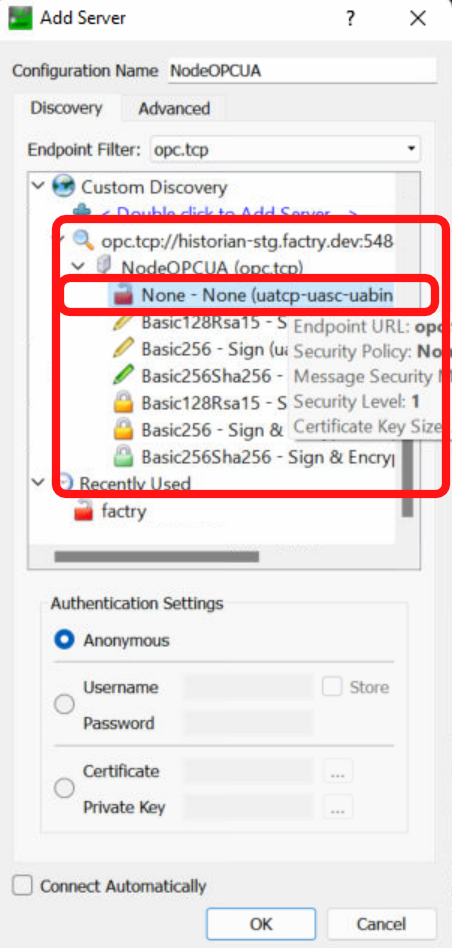
UA Expert will connect to the OPC-UA server and offer a number of options to connect to the server. Select the node that fits your criteria and click the OK button.
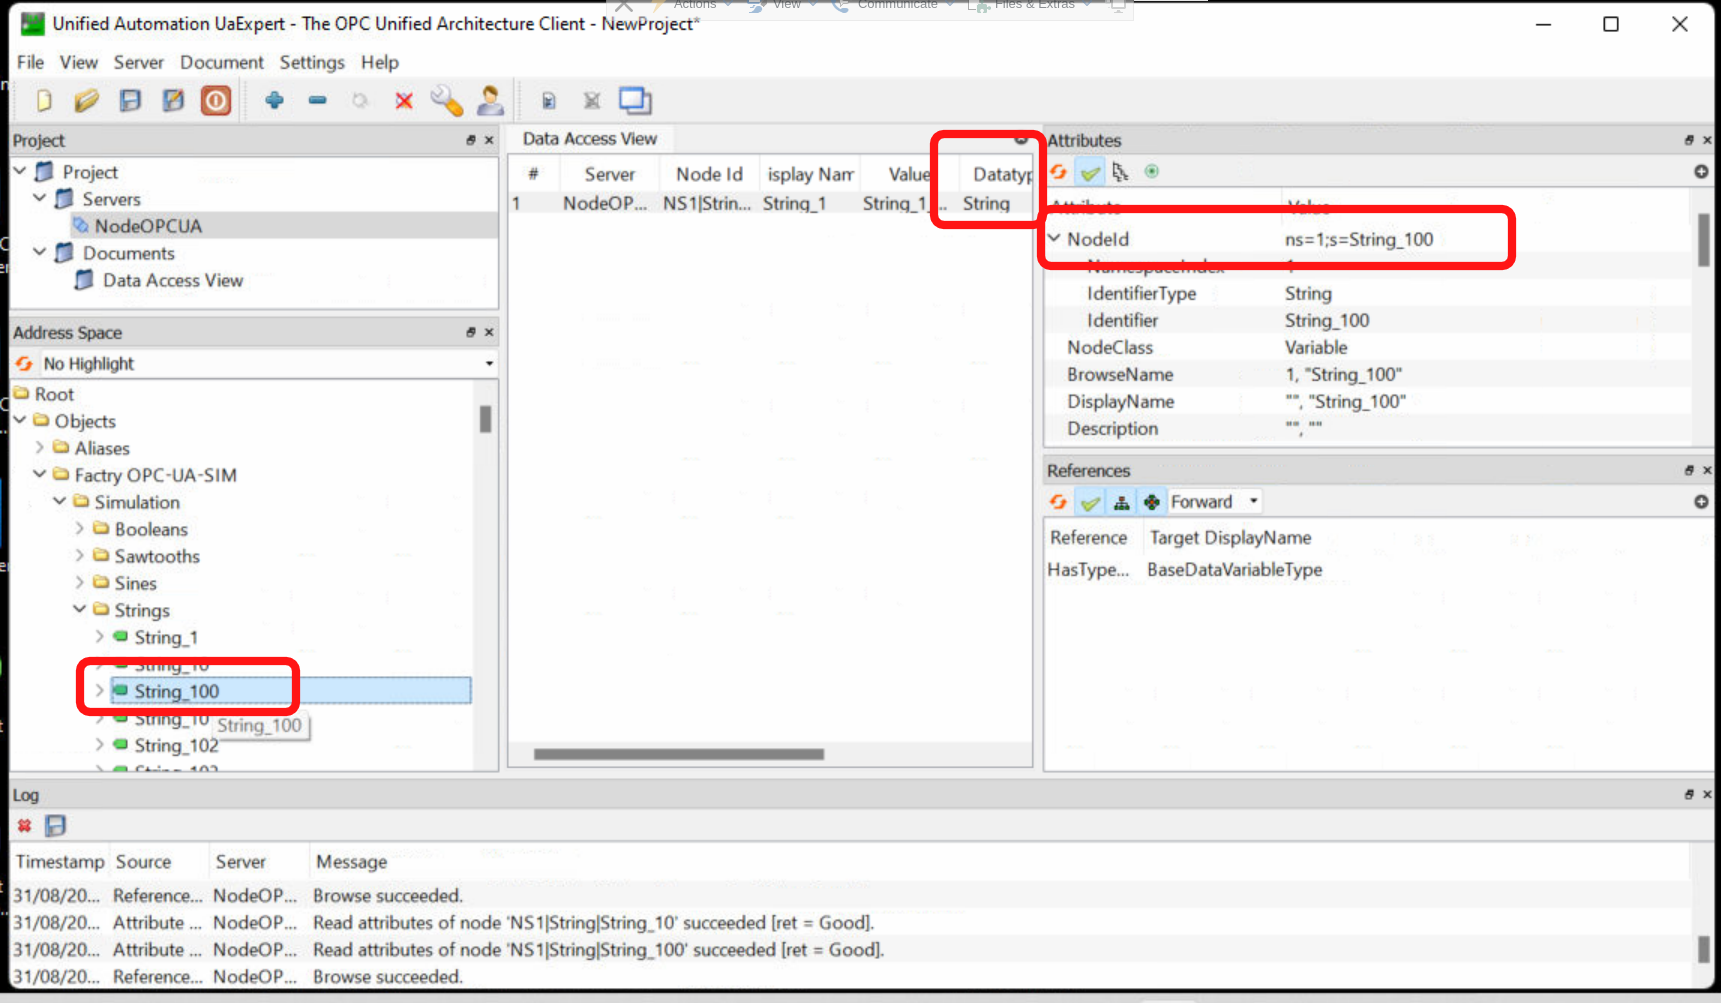
If the application has successfully connected, you should be able to browse the available nodes on the OPC-UA server in the Address Space panel in the bottom left.
Select a node of interest from the tree and you should be able to obtain the Node ID information from the attributes panel in the top right. Take note of the NodeID and take note of the datatype displayed in the data access view in the middle.
Step 5 - Add measurements
In the last step, a measurement is added to the historian, which results in sensor data being collected from the OPC-UA server.
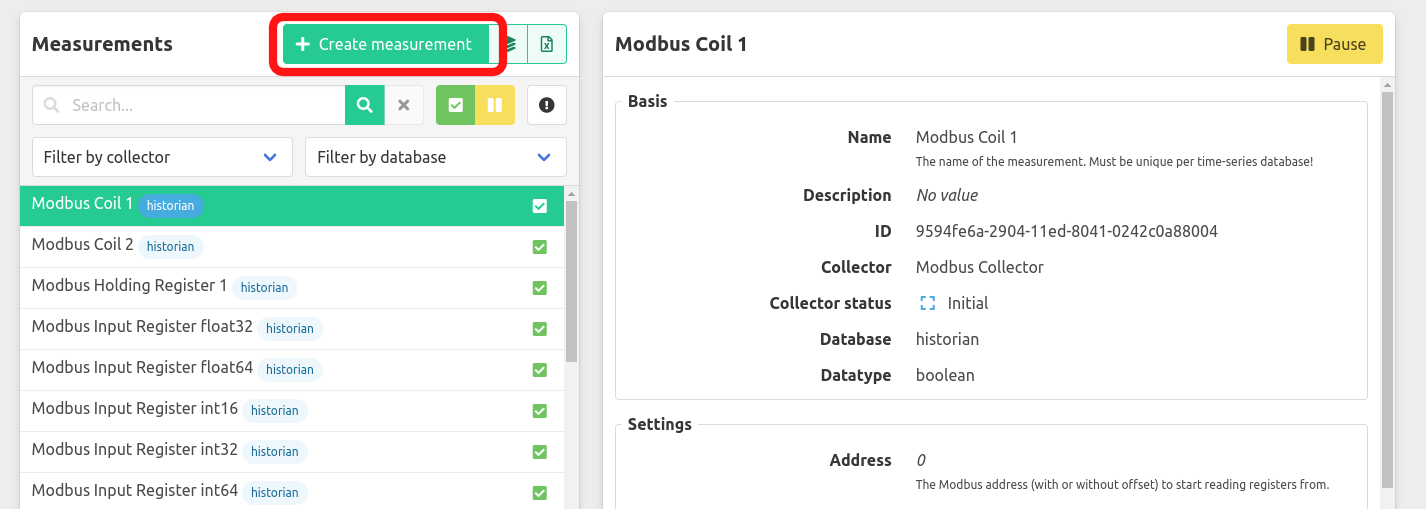
Go to the measurements page in Factry Historian and click the Create Measurement button.
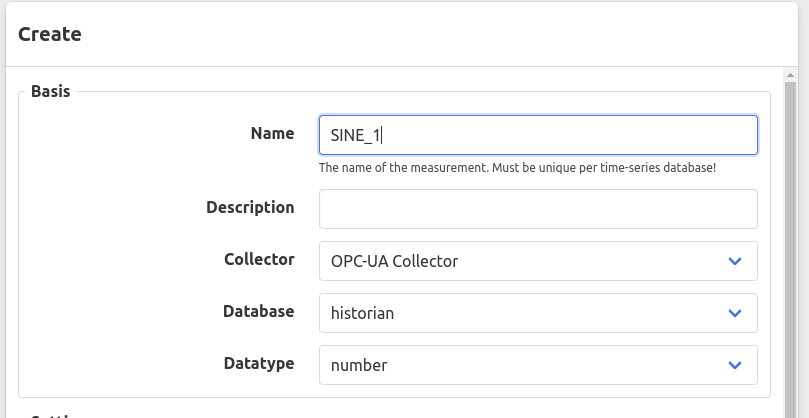
Enter a name and optionally a description for the measurement you wish to configure.
- Select the collector you created in step 1.
- Select the time-series database in which to store the data for the measurement.
- Select the
datatypeaccording to the datatype discovered in the previous step.
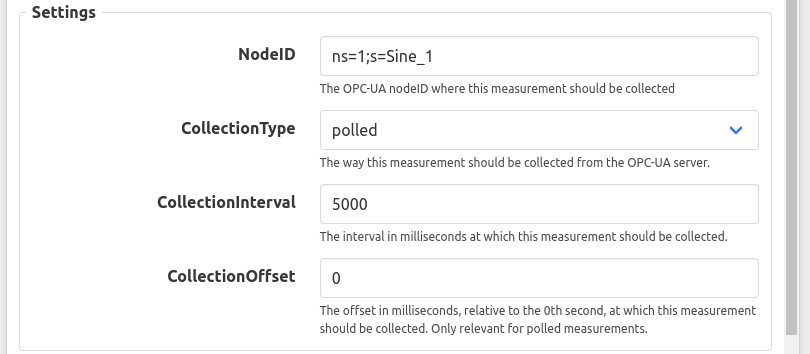
In the settings panel below enter the NodeID discovered in previous step.
- Leave the
CollectionType,CollectionIntervalandCollectionOffseton the prefilled values.
You can find more information on the meaning of these optional settings here
Click the submit button to start collecting sensor data for this measurement. After about 10 seconds you should be able to see that the status of the measurement changes to Good. The data panel then provide a preview of the collected data.
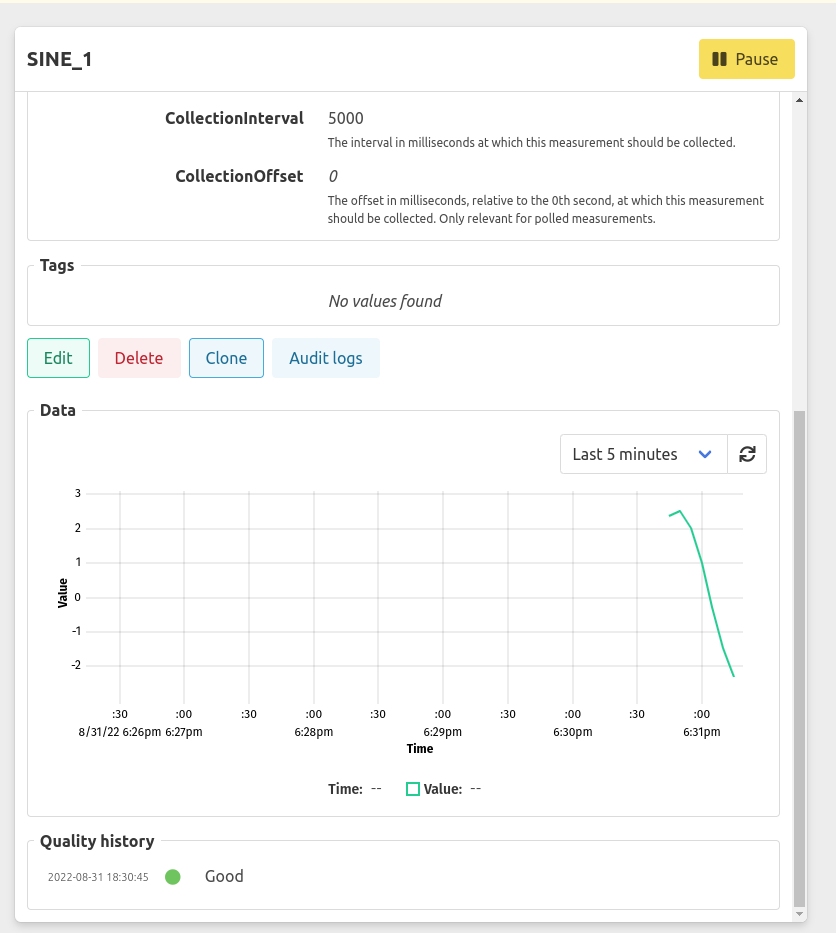
Furthermore, multiple measurements can be added at once using the measurements bulk import .