Creating a measurement
To start collecting data from a device in production, create a measurement and add it to your active collector.
General measurement settings
Before creating a measurement pay attention to the following:
- A collector and a time series database exists in the historian
- Make sure to verify the measurement datatype

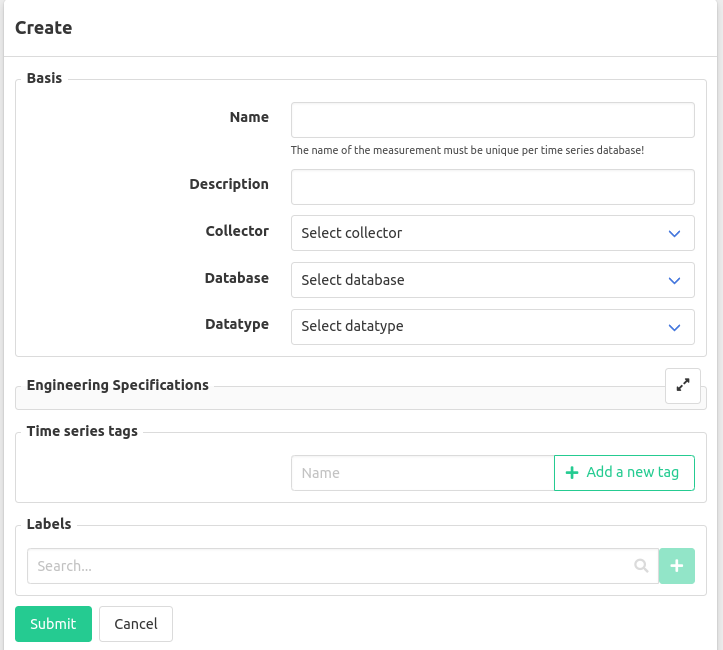
Fill in the general measurement properties:
- Enter a unique name (unique for one time series database)
- Optionally enter a description
- Select a collector (further settings will appear depending on the collector type)
- Select a database (might be prefilled if the selected collector has a default database)
- Select a datatype
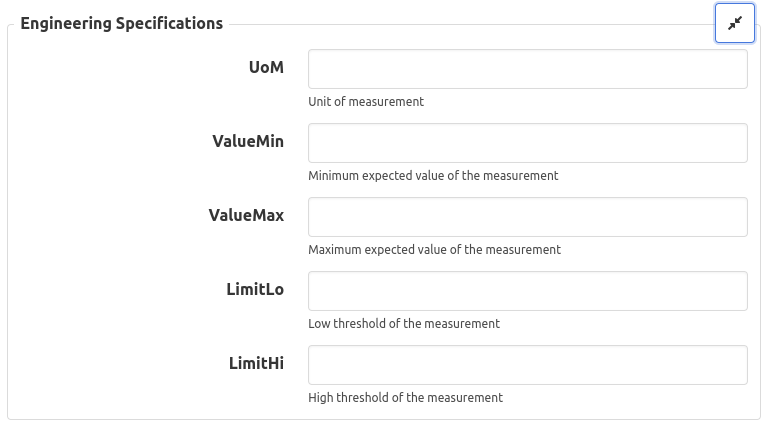
- Optionally enter engineering specifications, these are used in the grafana datasource
- Optionally add time series tags
- Optionally add labels
External validation
When external validation is configured, after creating a measurement the external validation status will appear in the measurement detail view. Read about configuring external validation .
Engineering specifications
The engineering specifications can be used to give more meaning the values and set limits on them.

Time series tags
Tags are labels (metadata) that is stored for every data point written to the time series database.

Labels
Labels can be used to group measurements together, a measurement can have multiple labels.

Specific measurement settings
Depending on the type of the collector, which is collecting the measurement, specific settings will need to be filled in. Learn more about the specific measurement settings of f.e. an OPC-UA measurement .