Factry Historian Setup Wizard Tutorial
Introduction
This tutorial will guide you through the complete setup process of the Factry Historian using the setup wizard.
Accessing the Setup Wizard
Once the installation is complete, you can access the Factry Historian setup wizard by navigating to <IP of server>:8000 in your browser. You should see the login screen. Use the following credentials to log in:
- Name:
factry - Password: Refer to the default password .
https:// with http:// in the browser URL. If the issue persists, open the URL in an incognito browser window.

Changing the Default Password
After logging in, you will be prompted to update your password. Enter a new password and click “Confirm”

Using the Setup Wizard
The first time you open the Factry Historian webpage, the setup wizard will launch. This wizard will guide you through configuring the license, internal Influx database, API settings, and default organization.
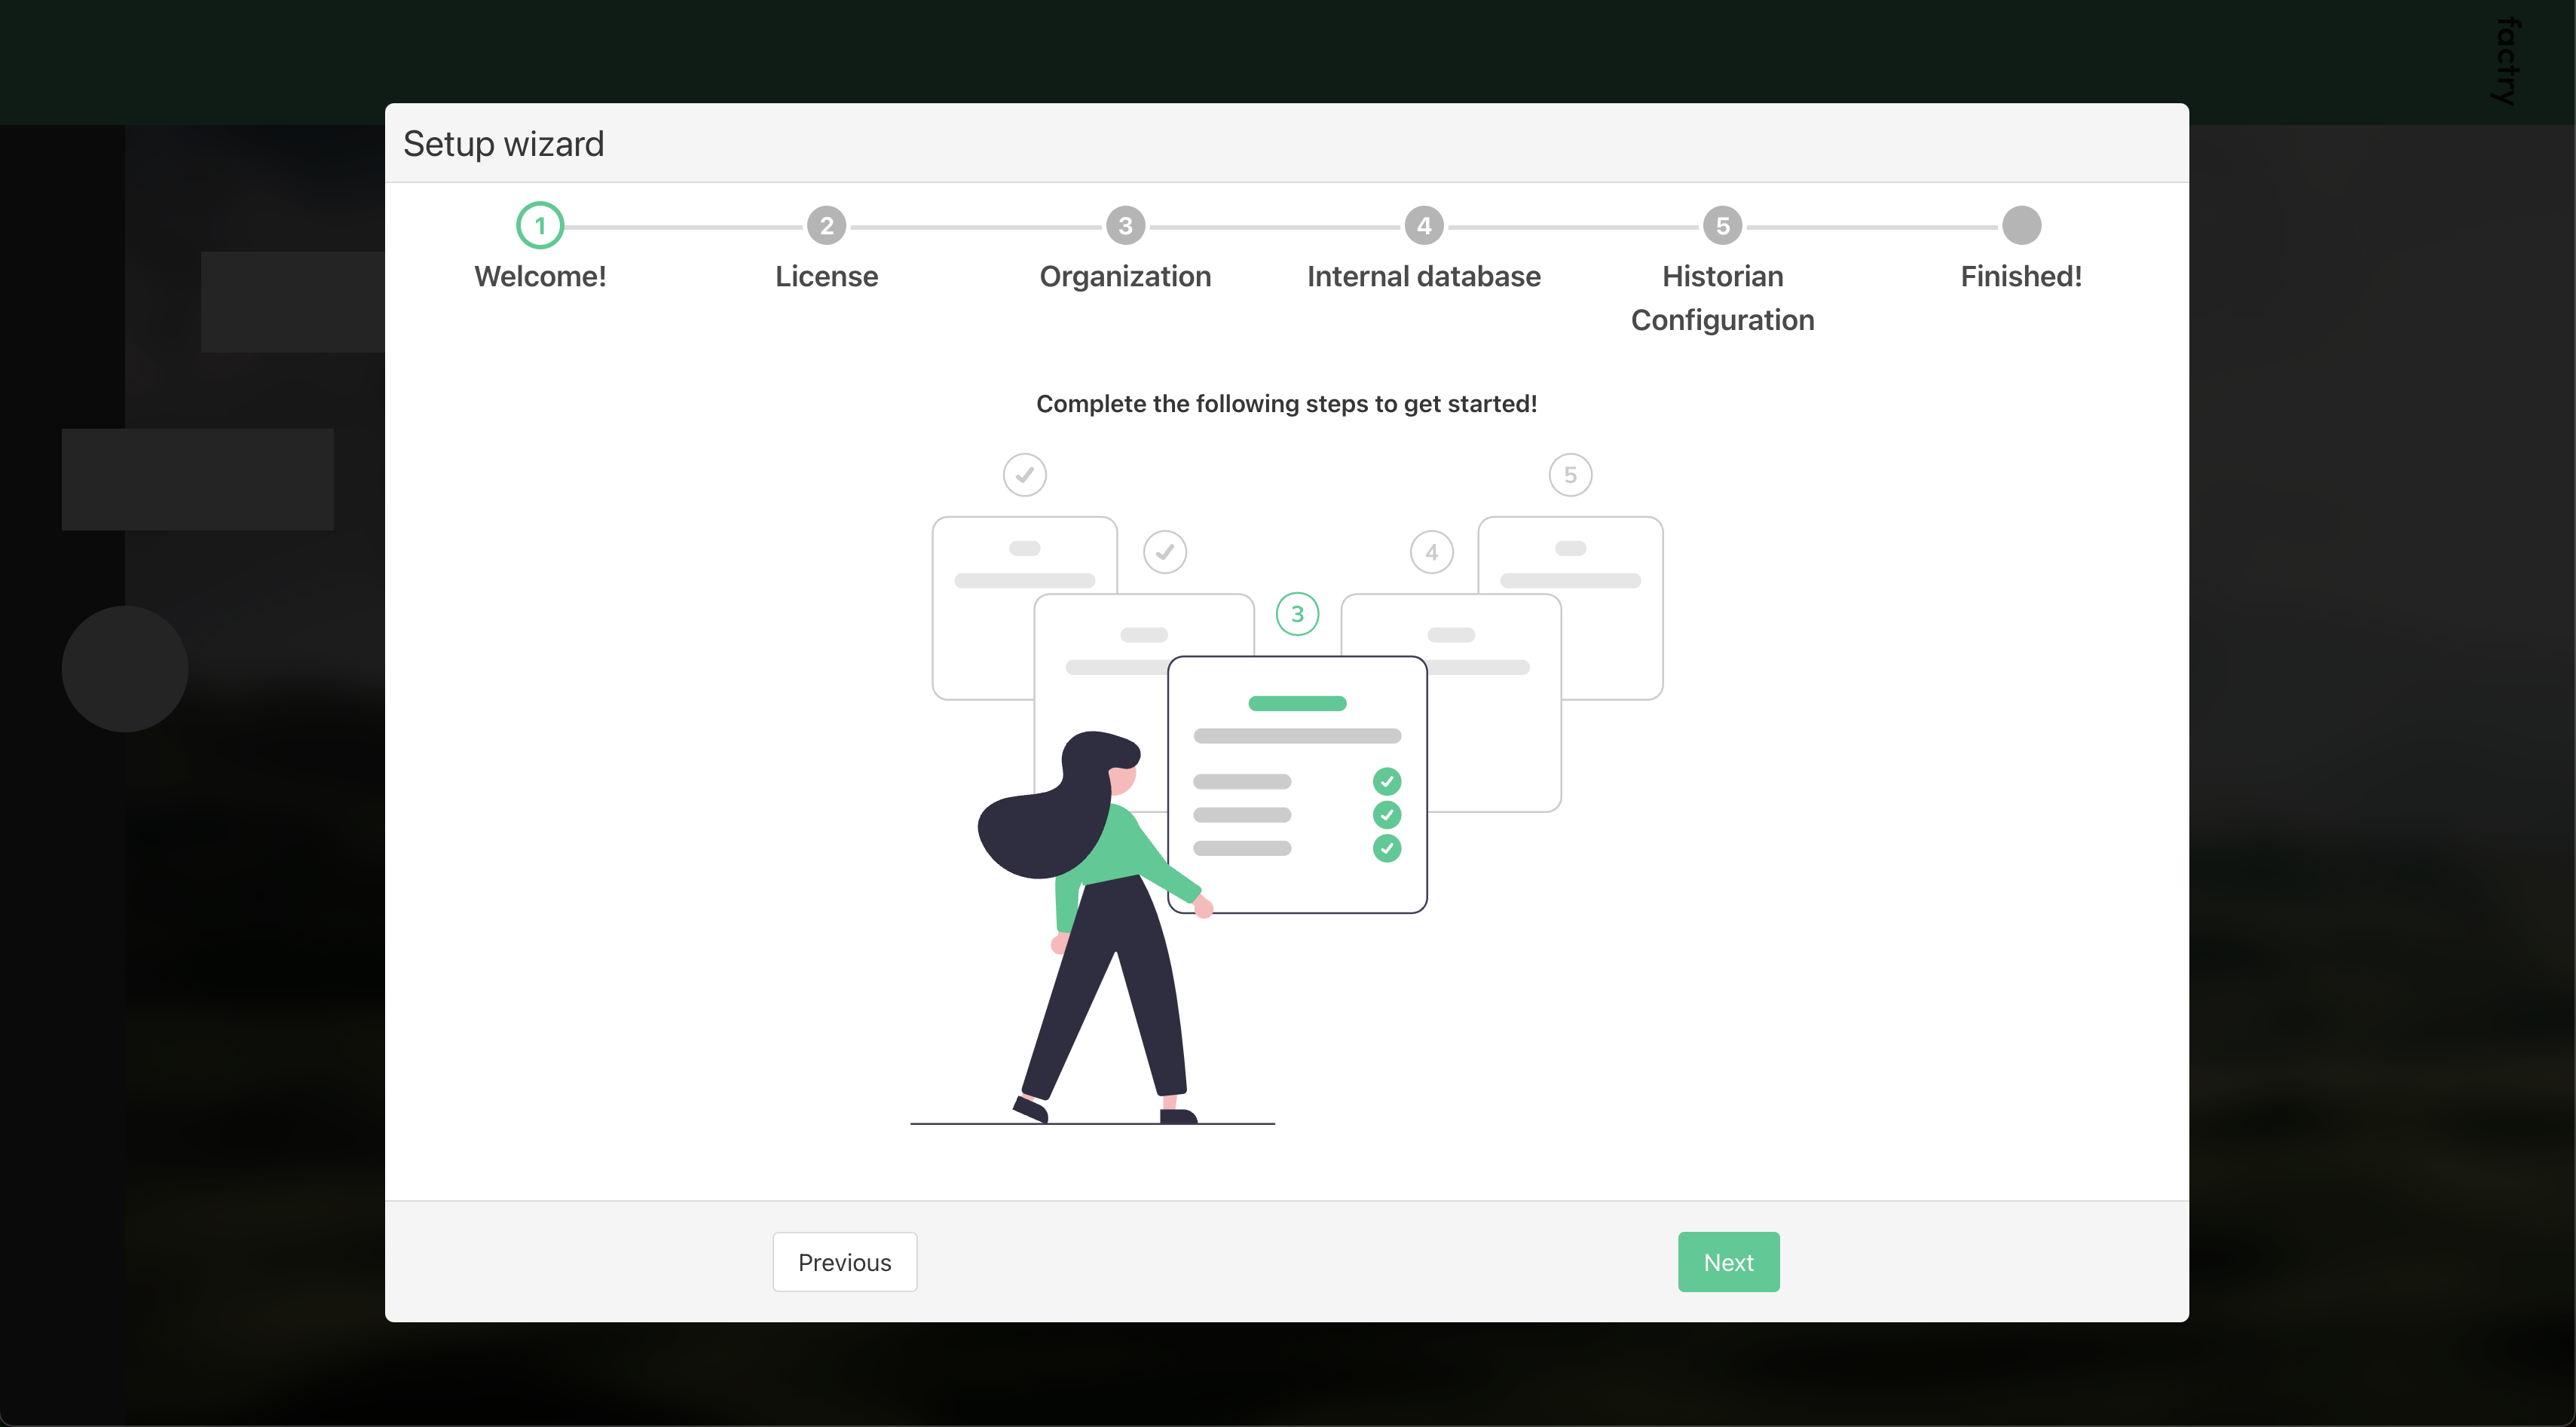
Step 1: Welcome Screen
Click Next to begin.
Step 2: Activating a License
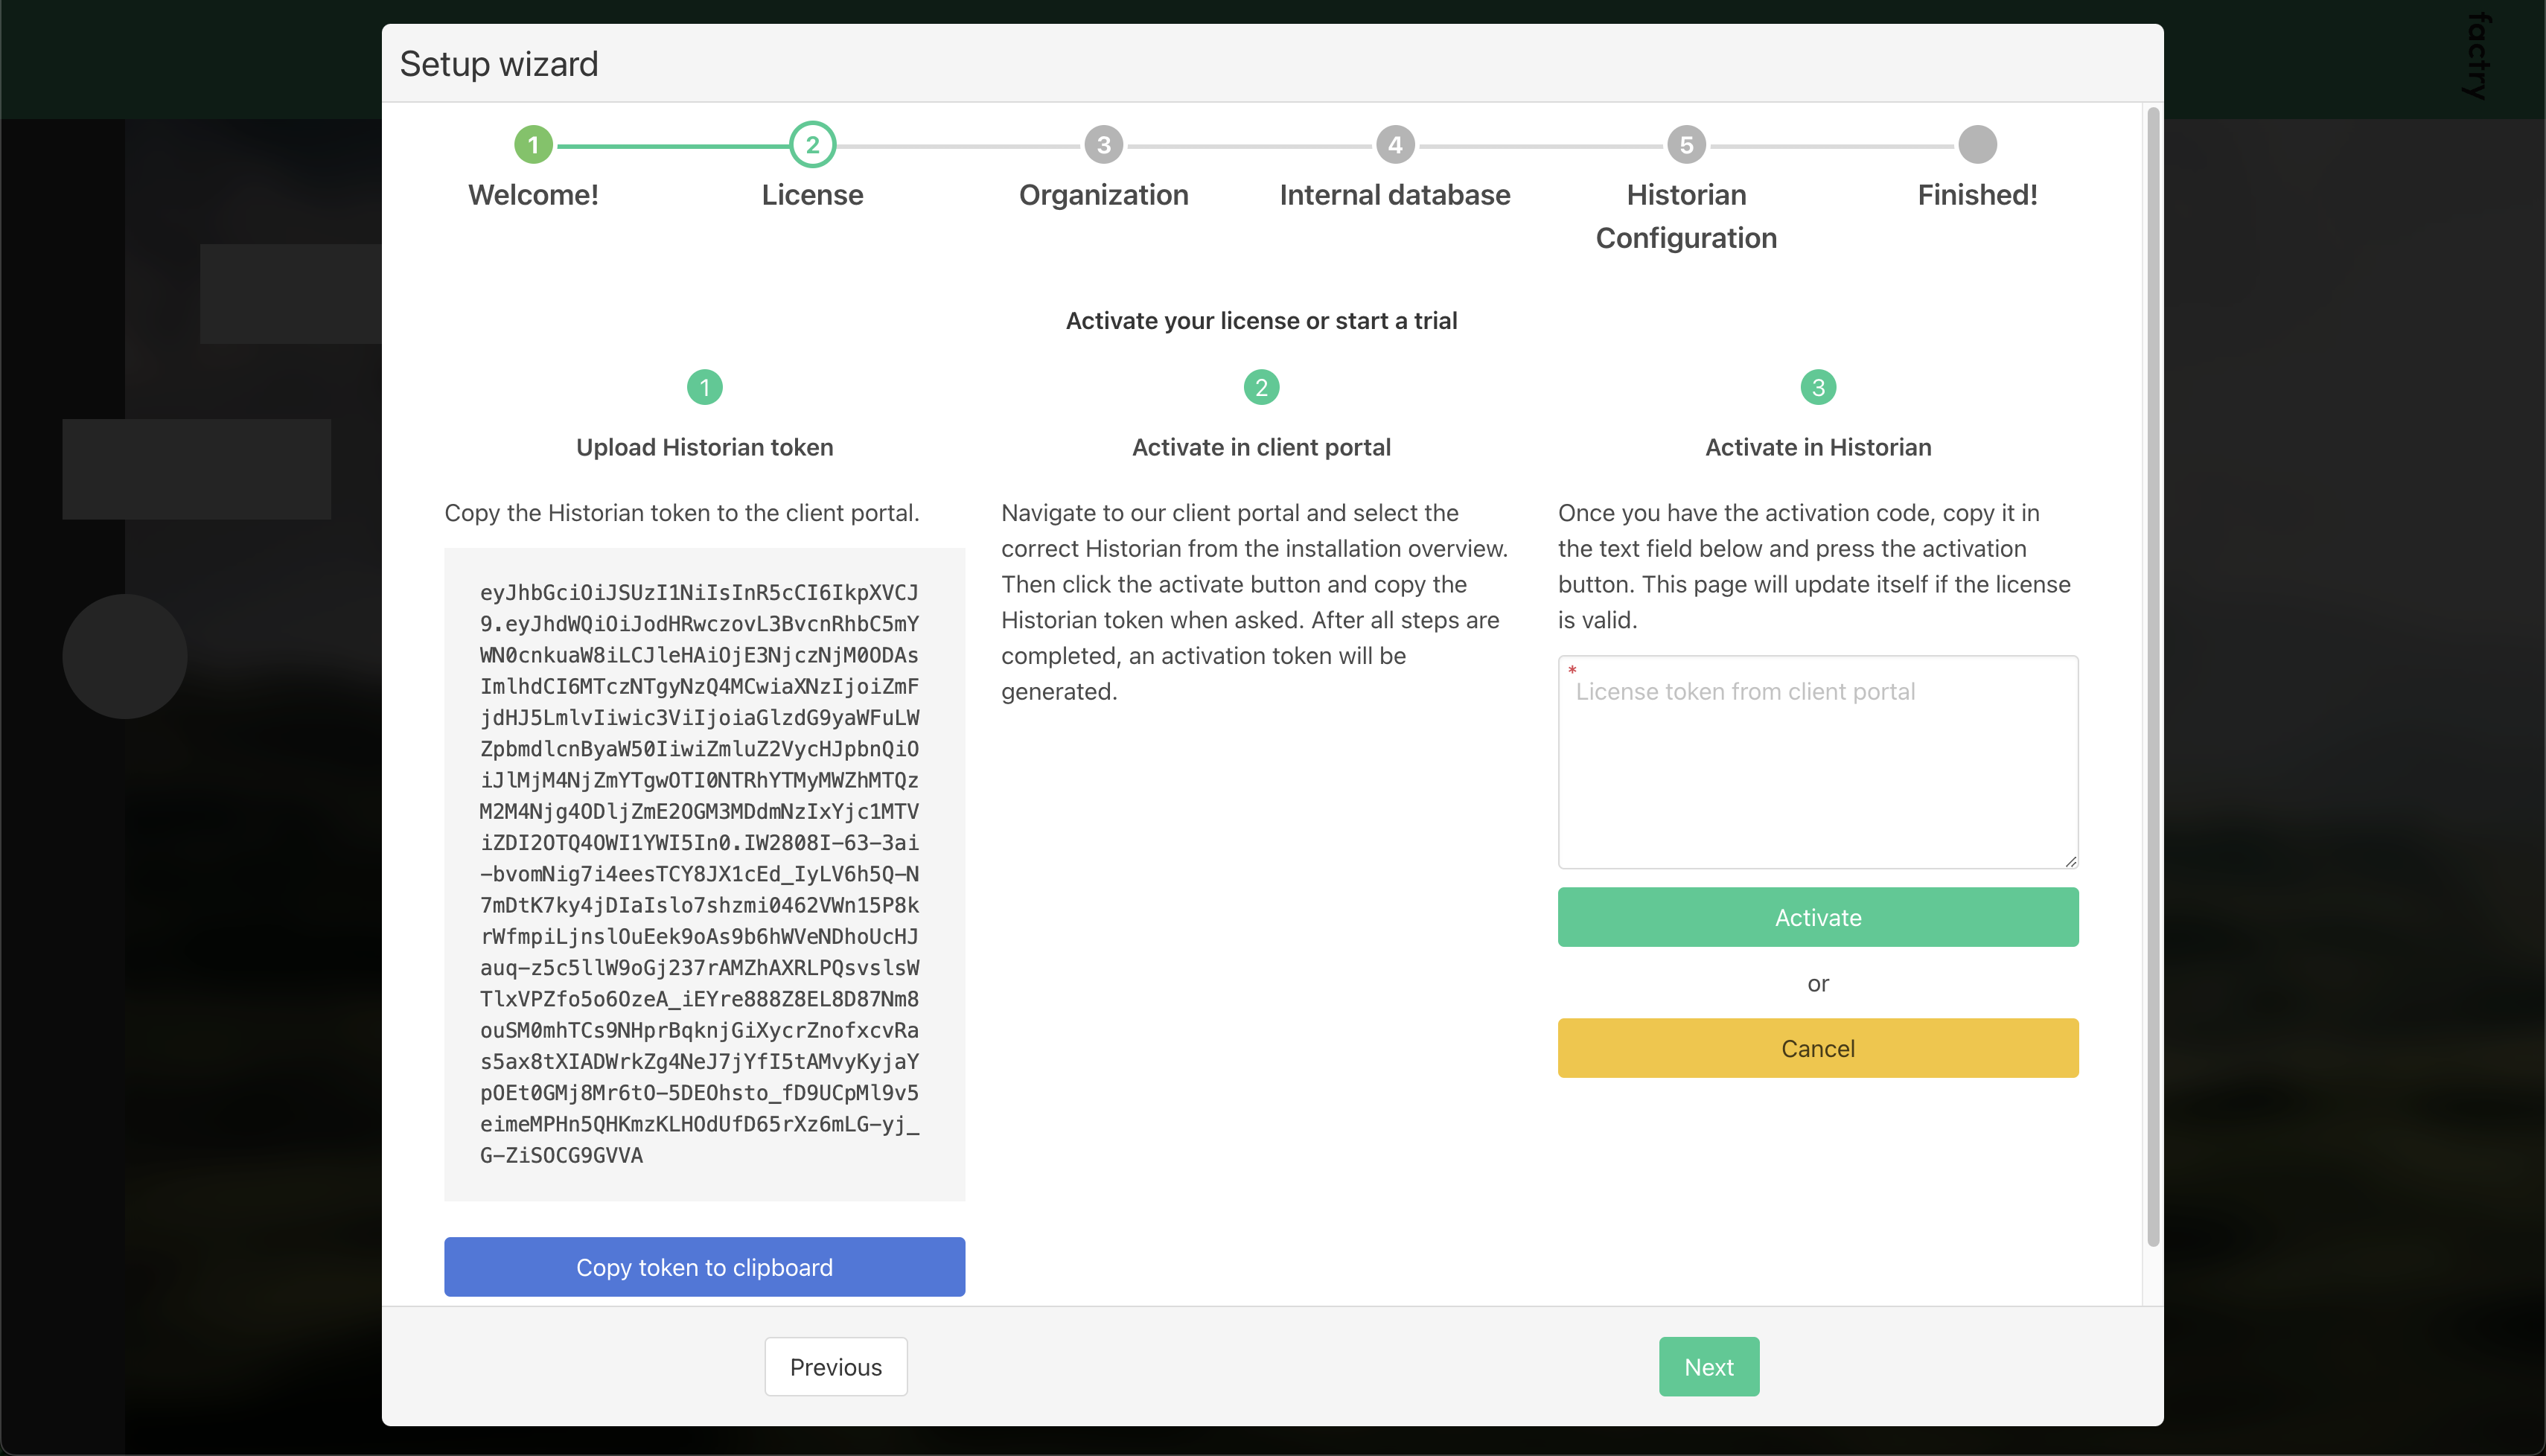
You can either activate a license or start a trial:
- To activate a license:
- Click
Copy token to clipboardto copy the server fingerprint token. - Visit the Factry portal and use the token to retrieve a license token.
- If you cannot access the portal, contact Factry support at
support@factry.io. - Paste the license token into the text box and click
Activate.
- Click
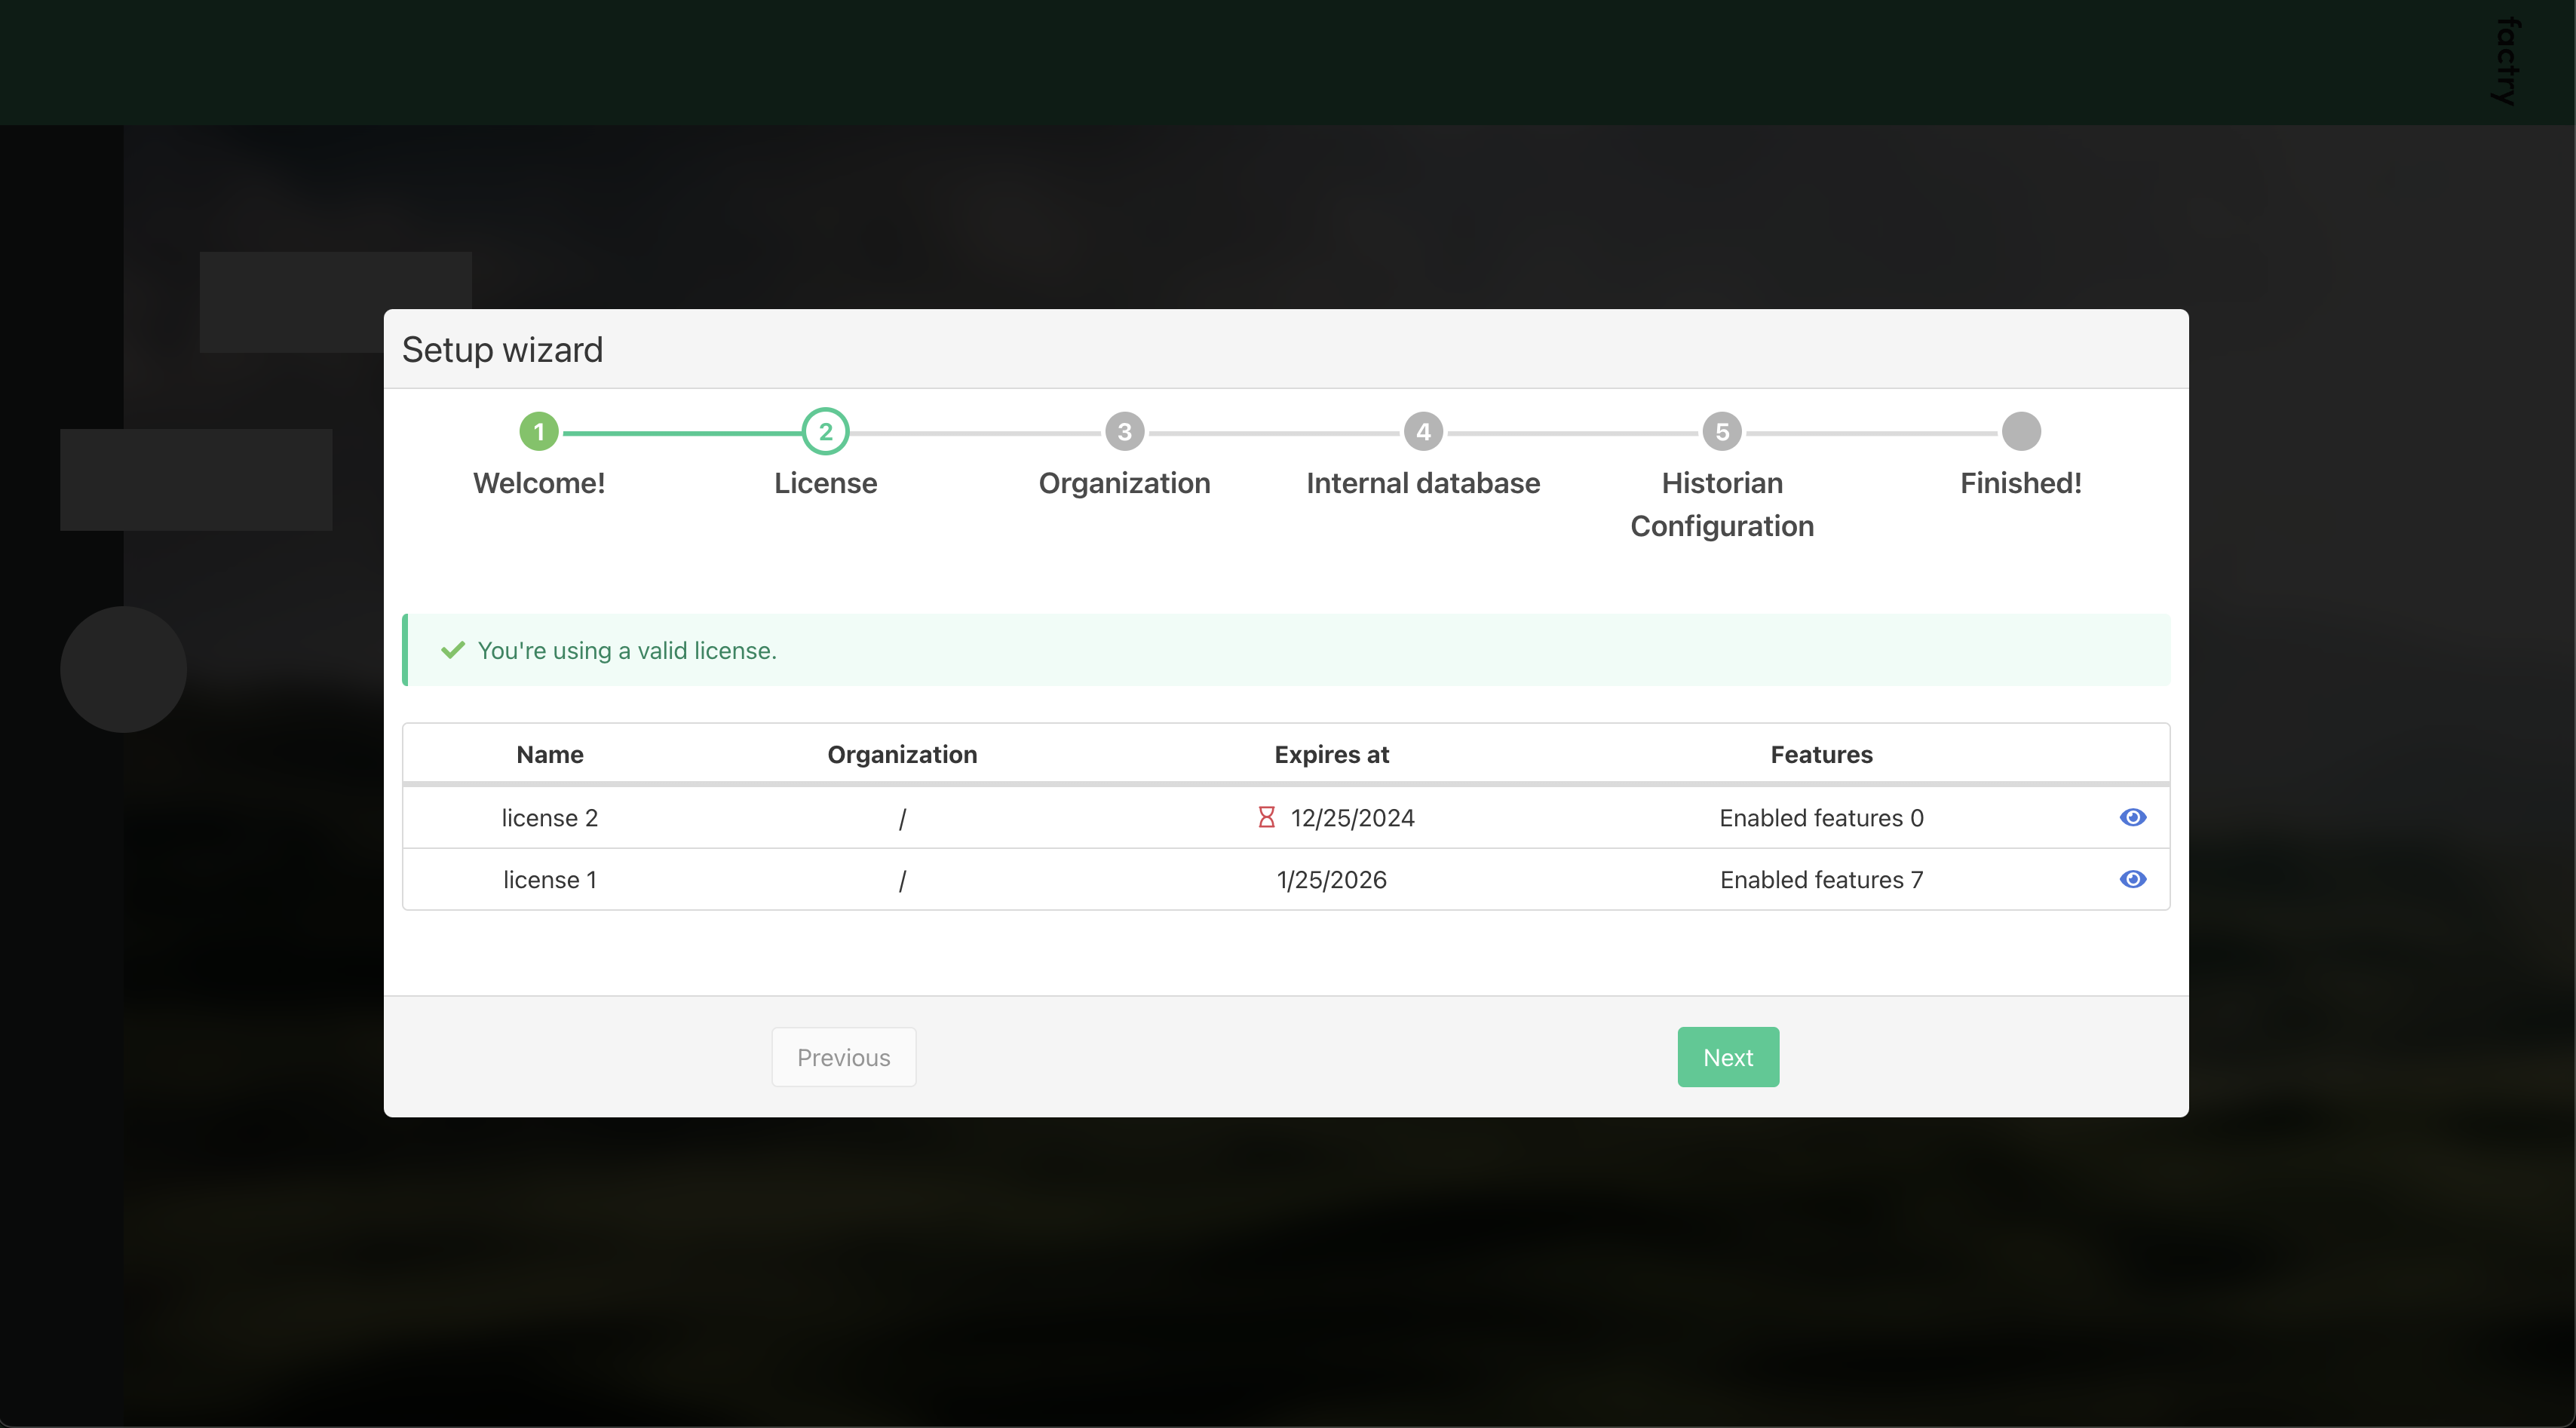
Once activated, you will see an overview of your available licenses.
Step 3: Configuring the Default Organization
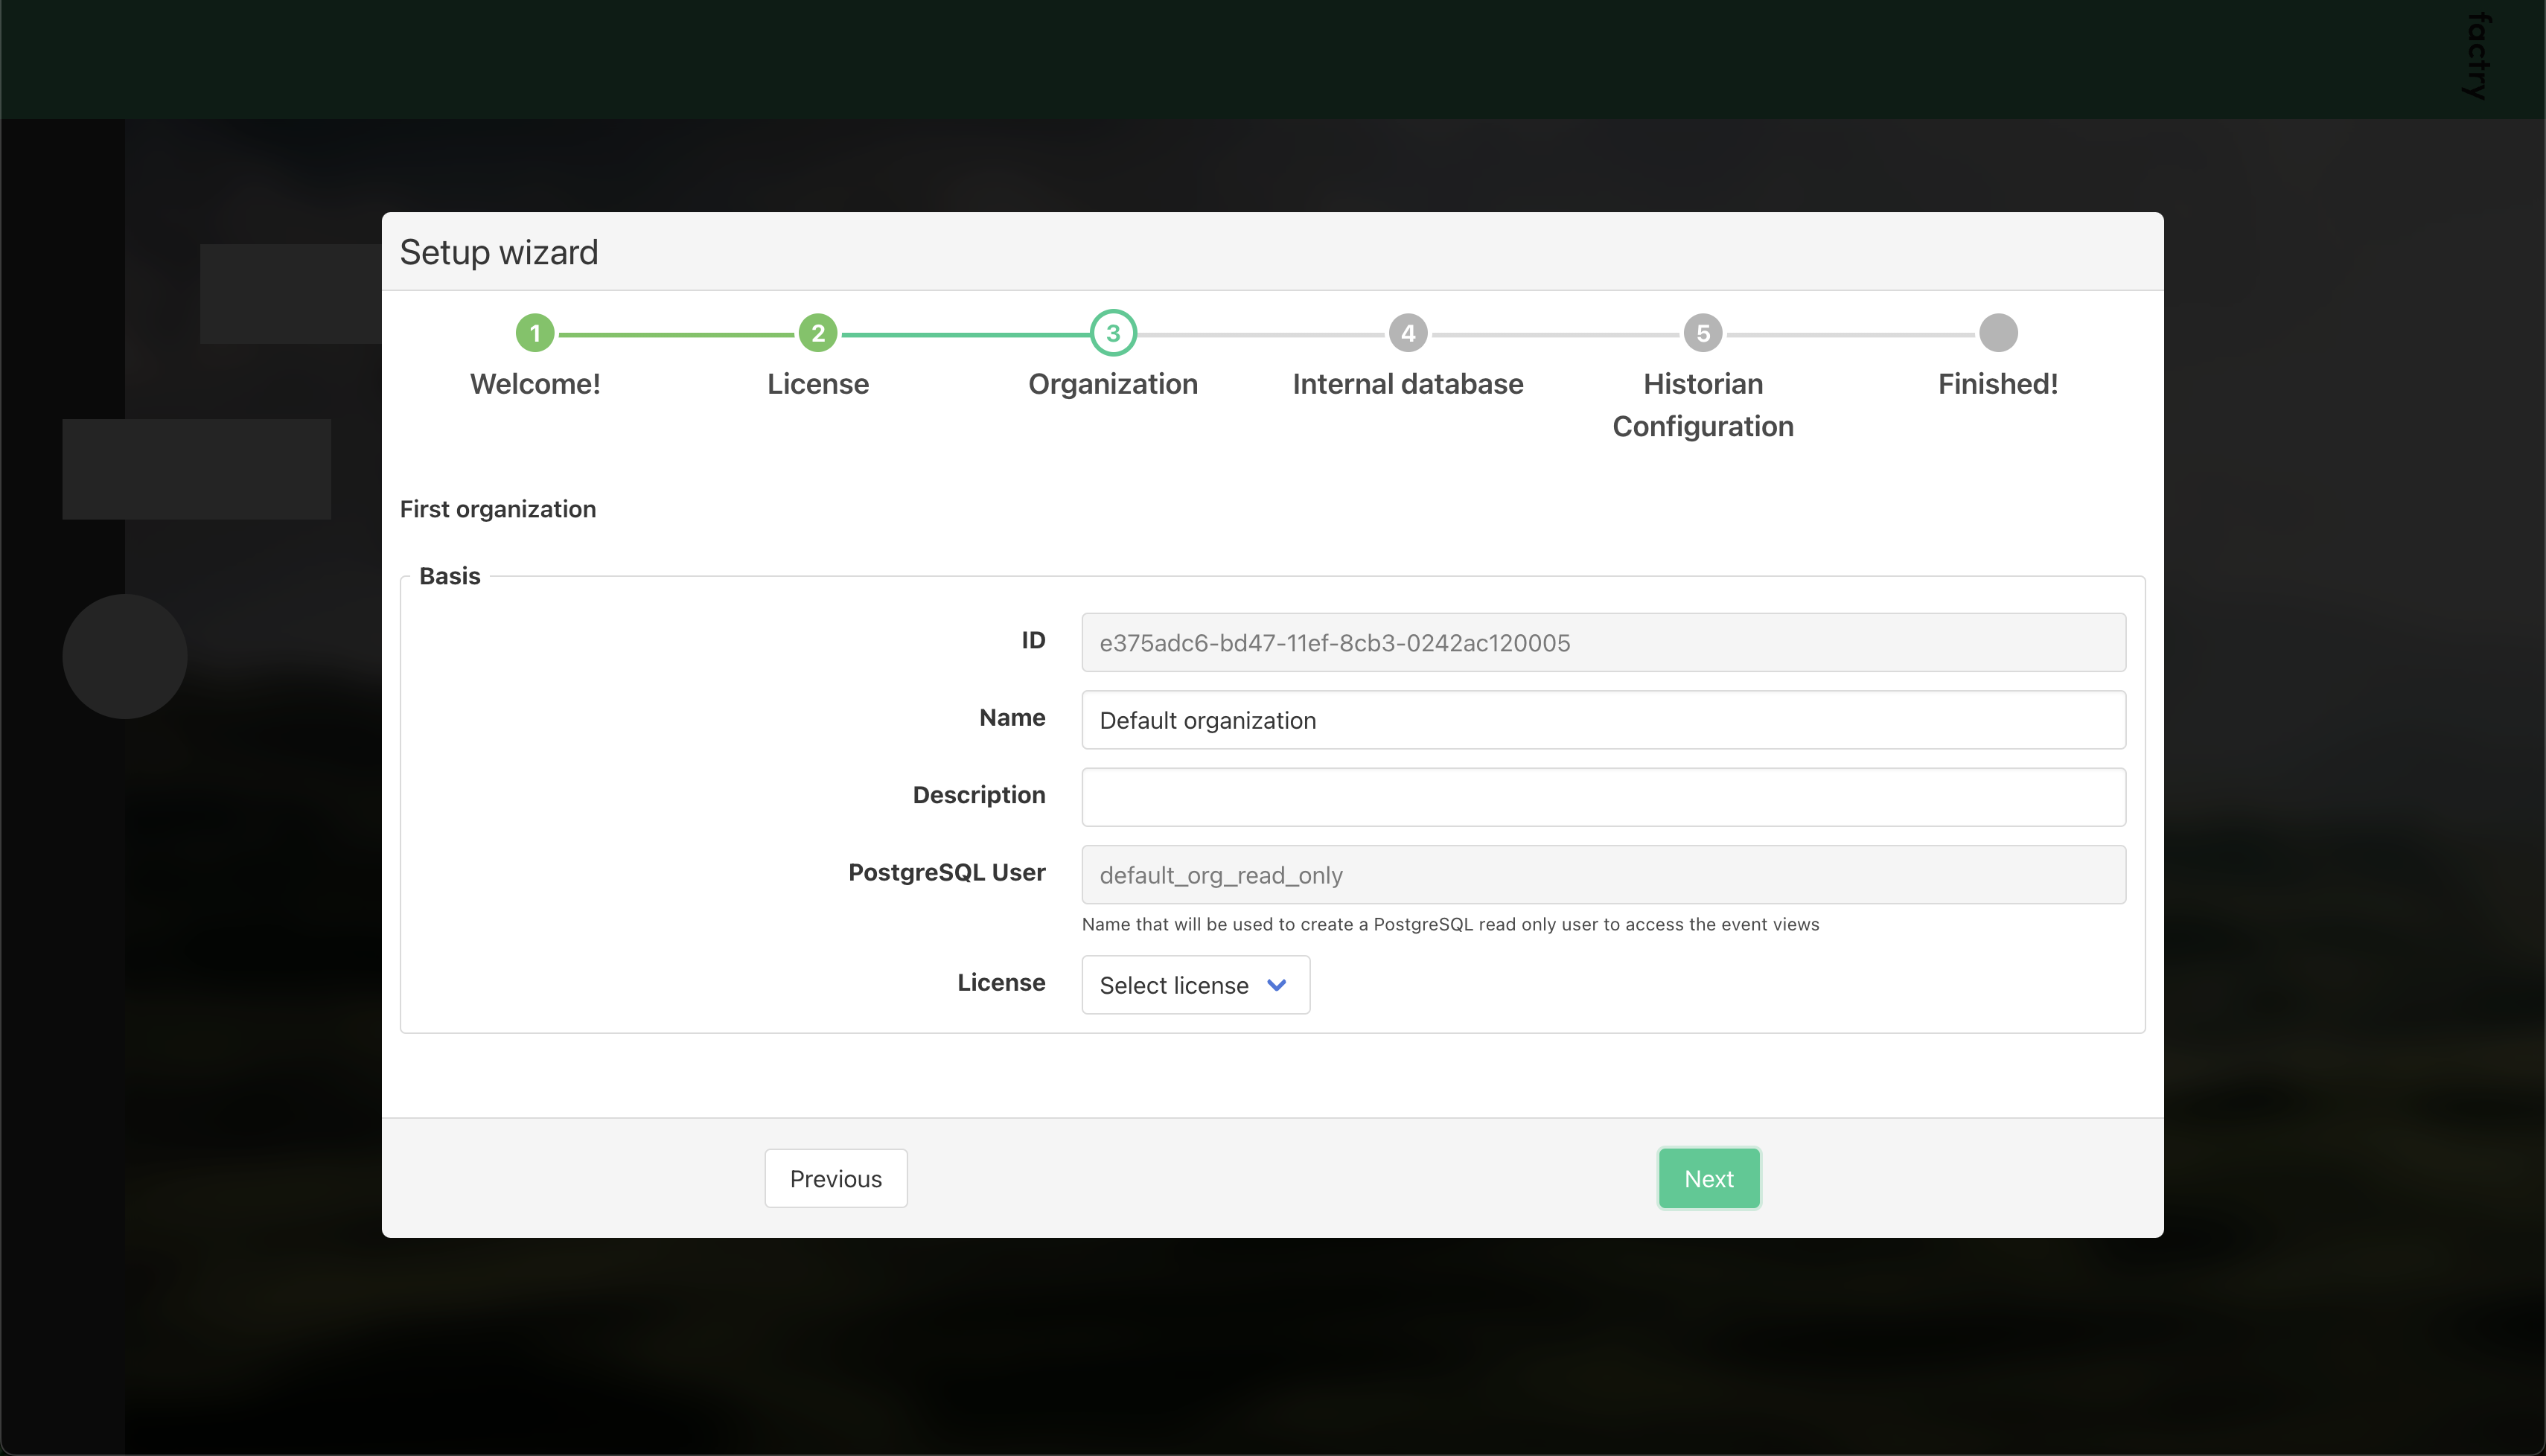
Enter a name and optional description for your organization. If you activated a license, select it from the dropdown menu.
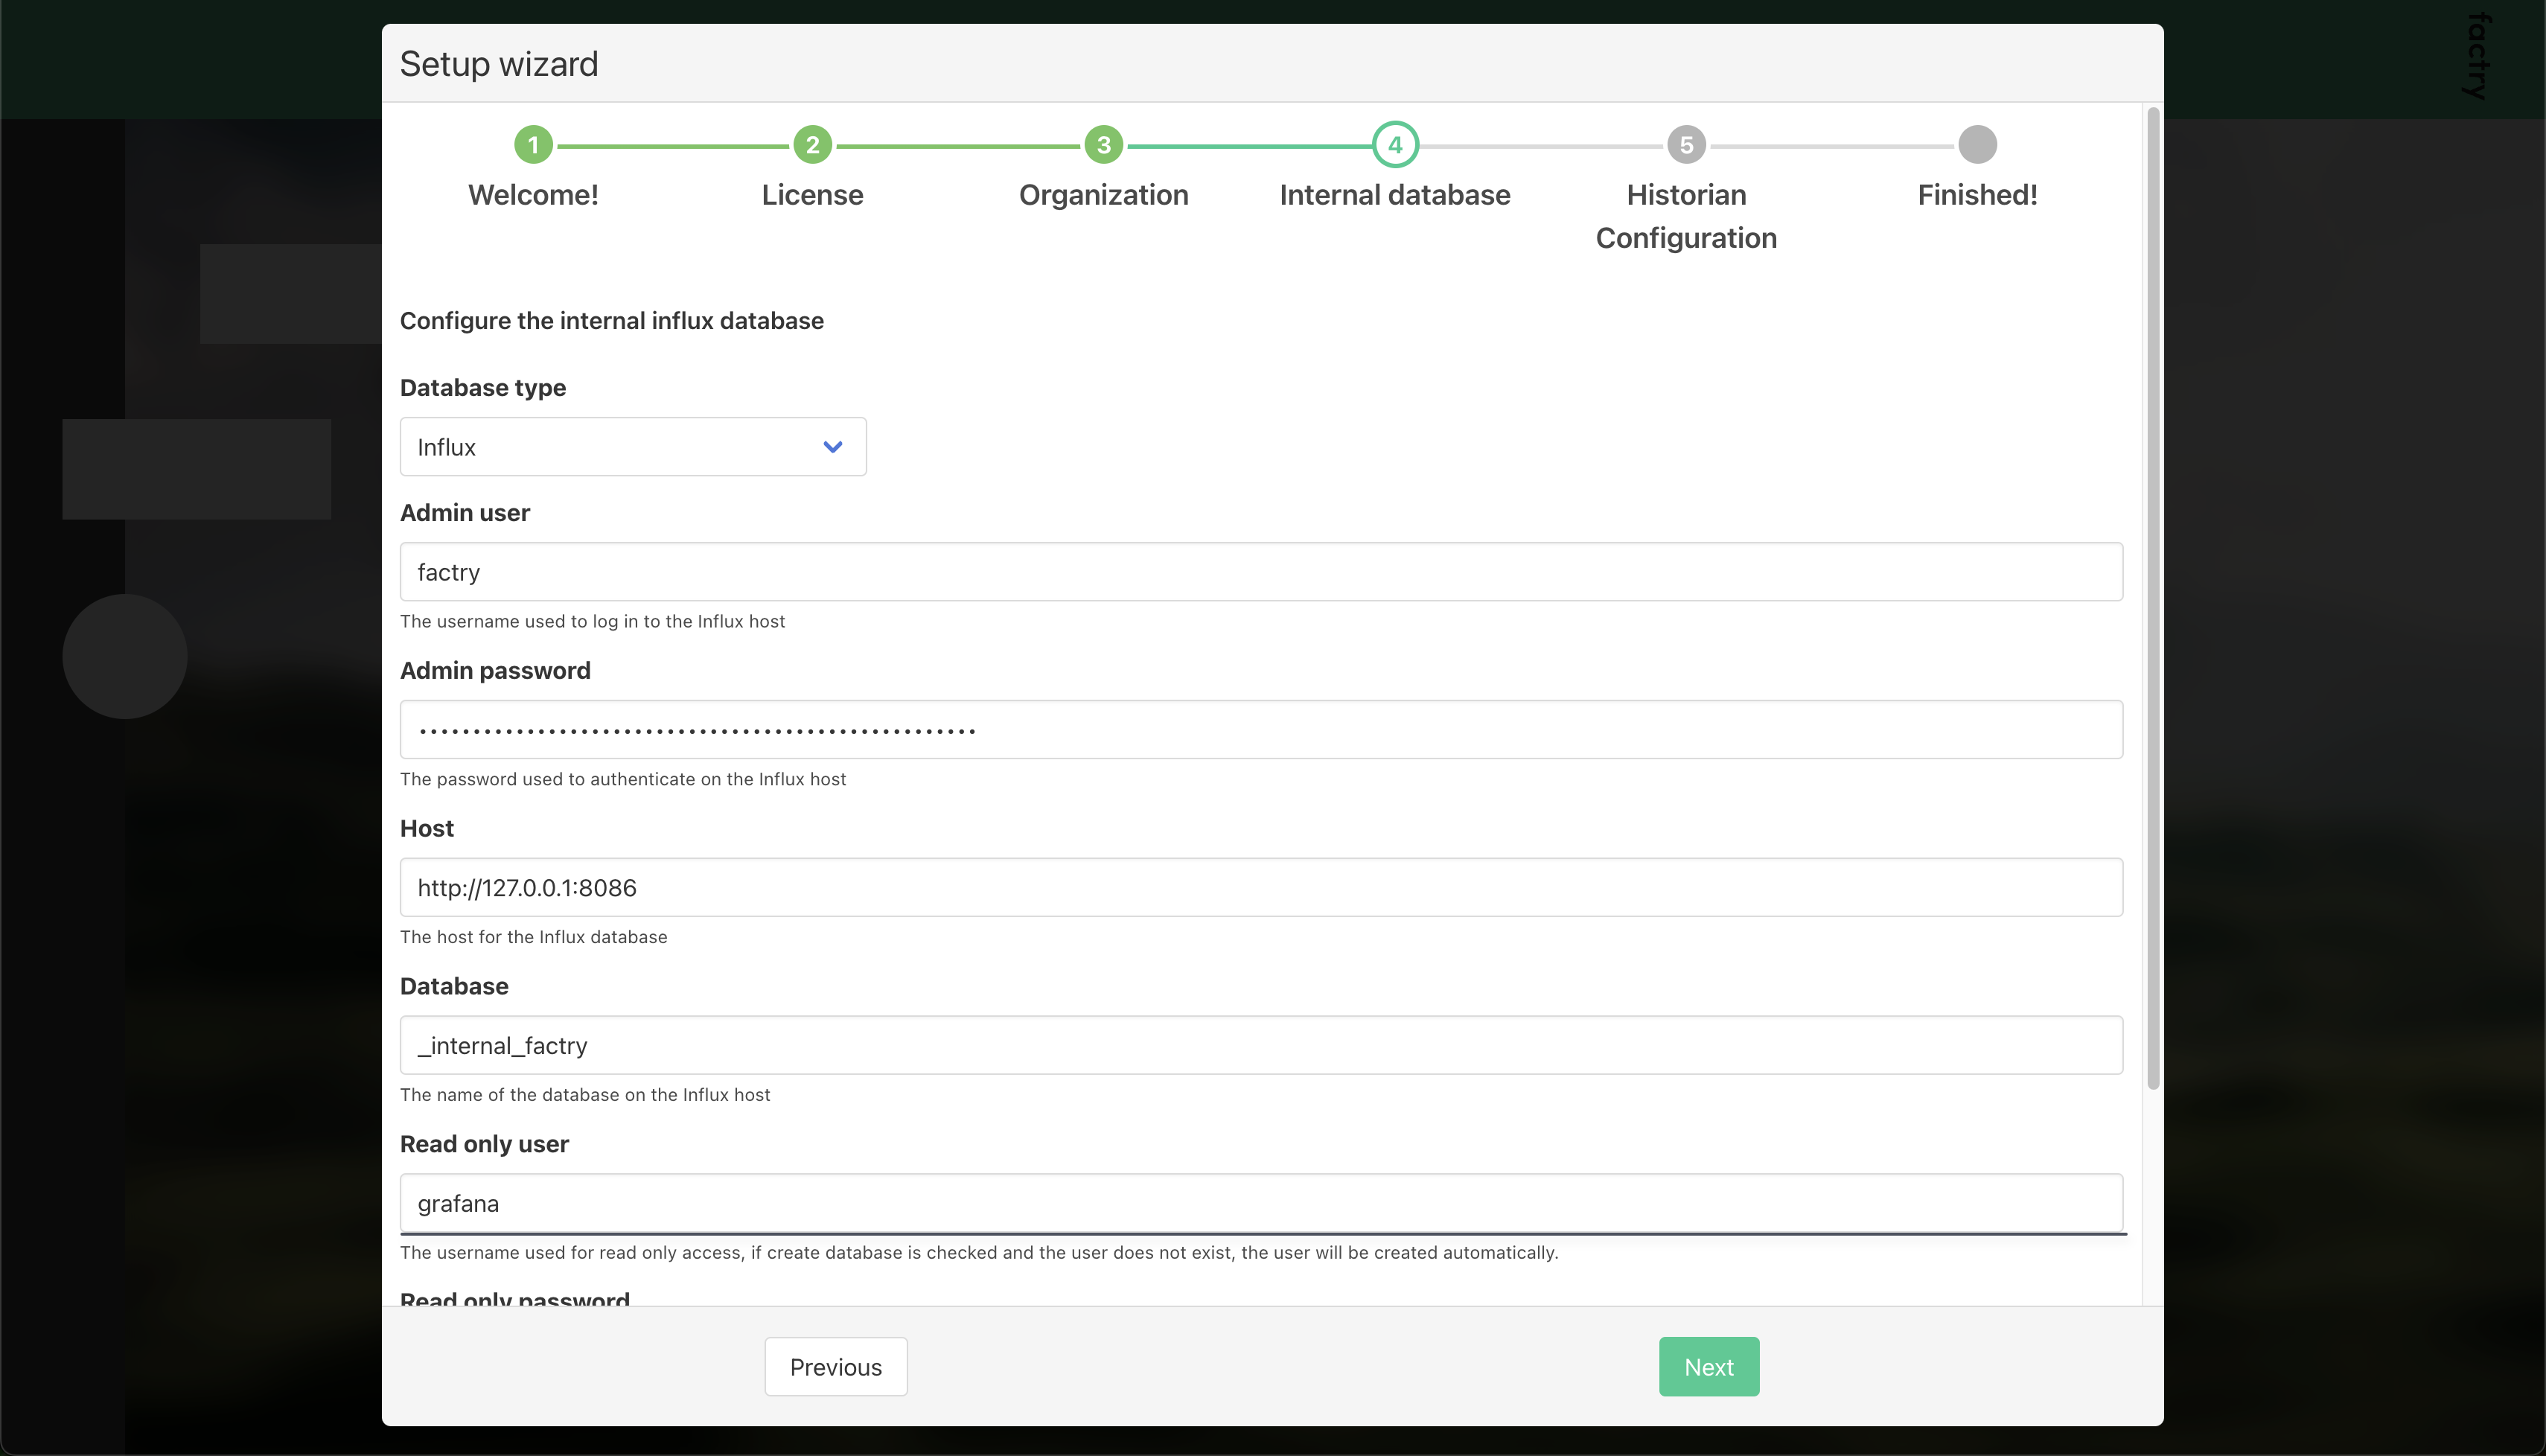
Step 4: Configuring the Internal Database
Set up the internal time series database :
- Enter the Influx admin user credentials you created while installing influx.
- Keep the
Hostas default unless Influx is on a separate server. - Ensure
Create databaseis checked unless the_internal_factrydatabase already exists.
Step 5: Configuring API Settings
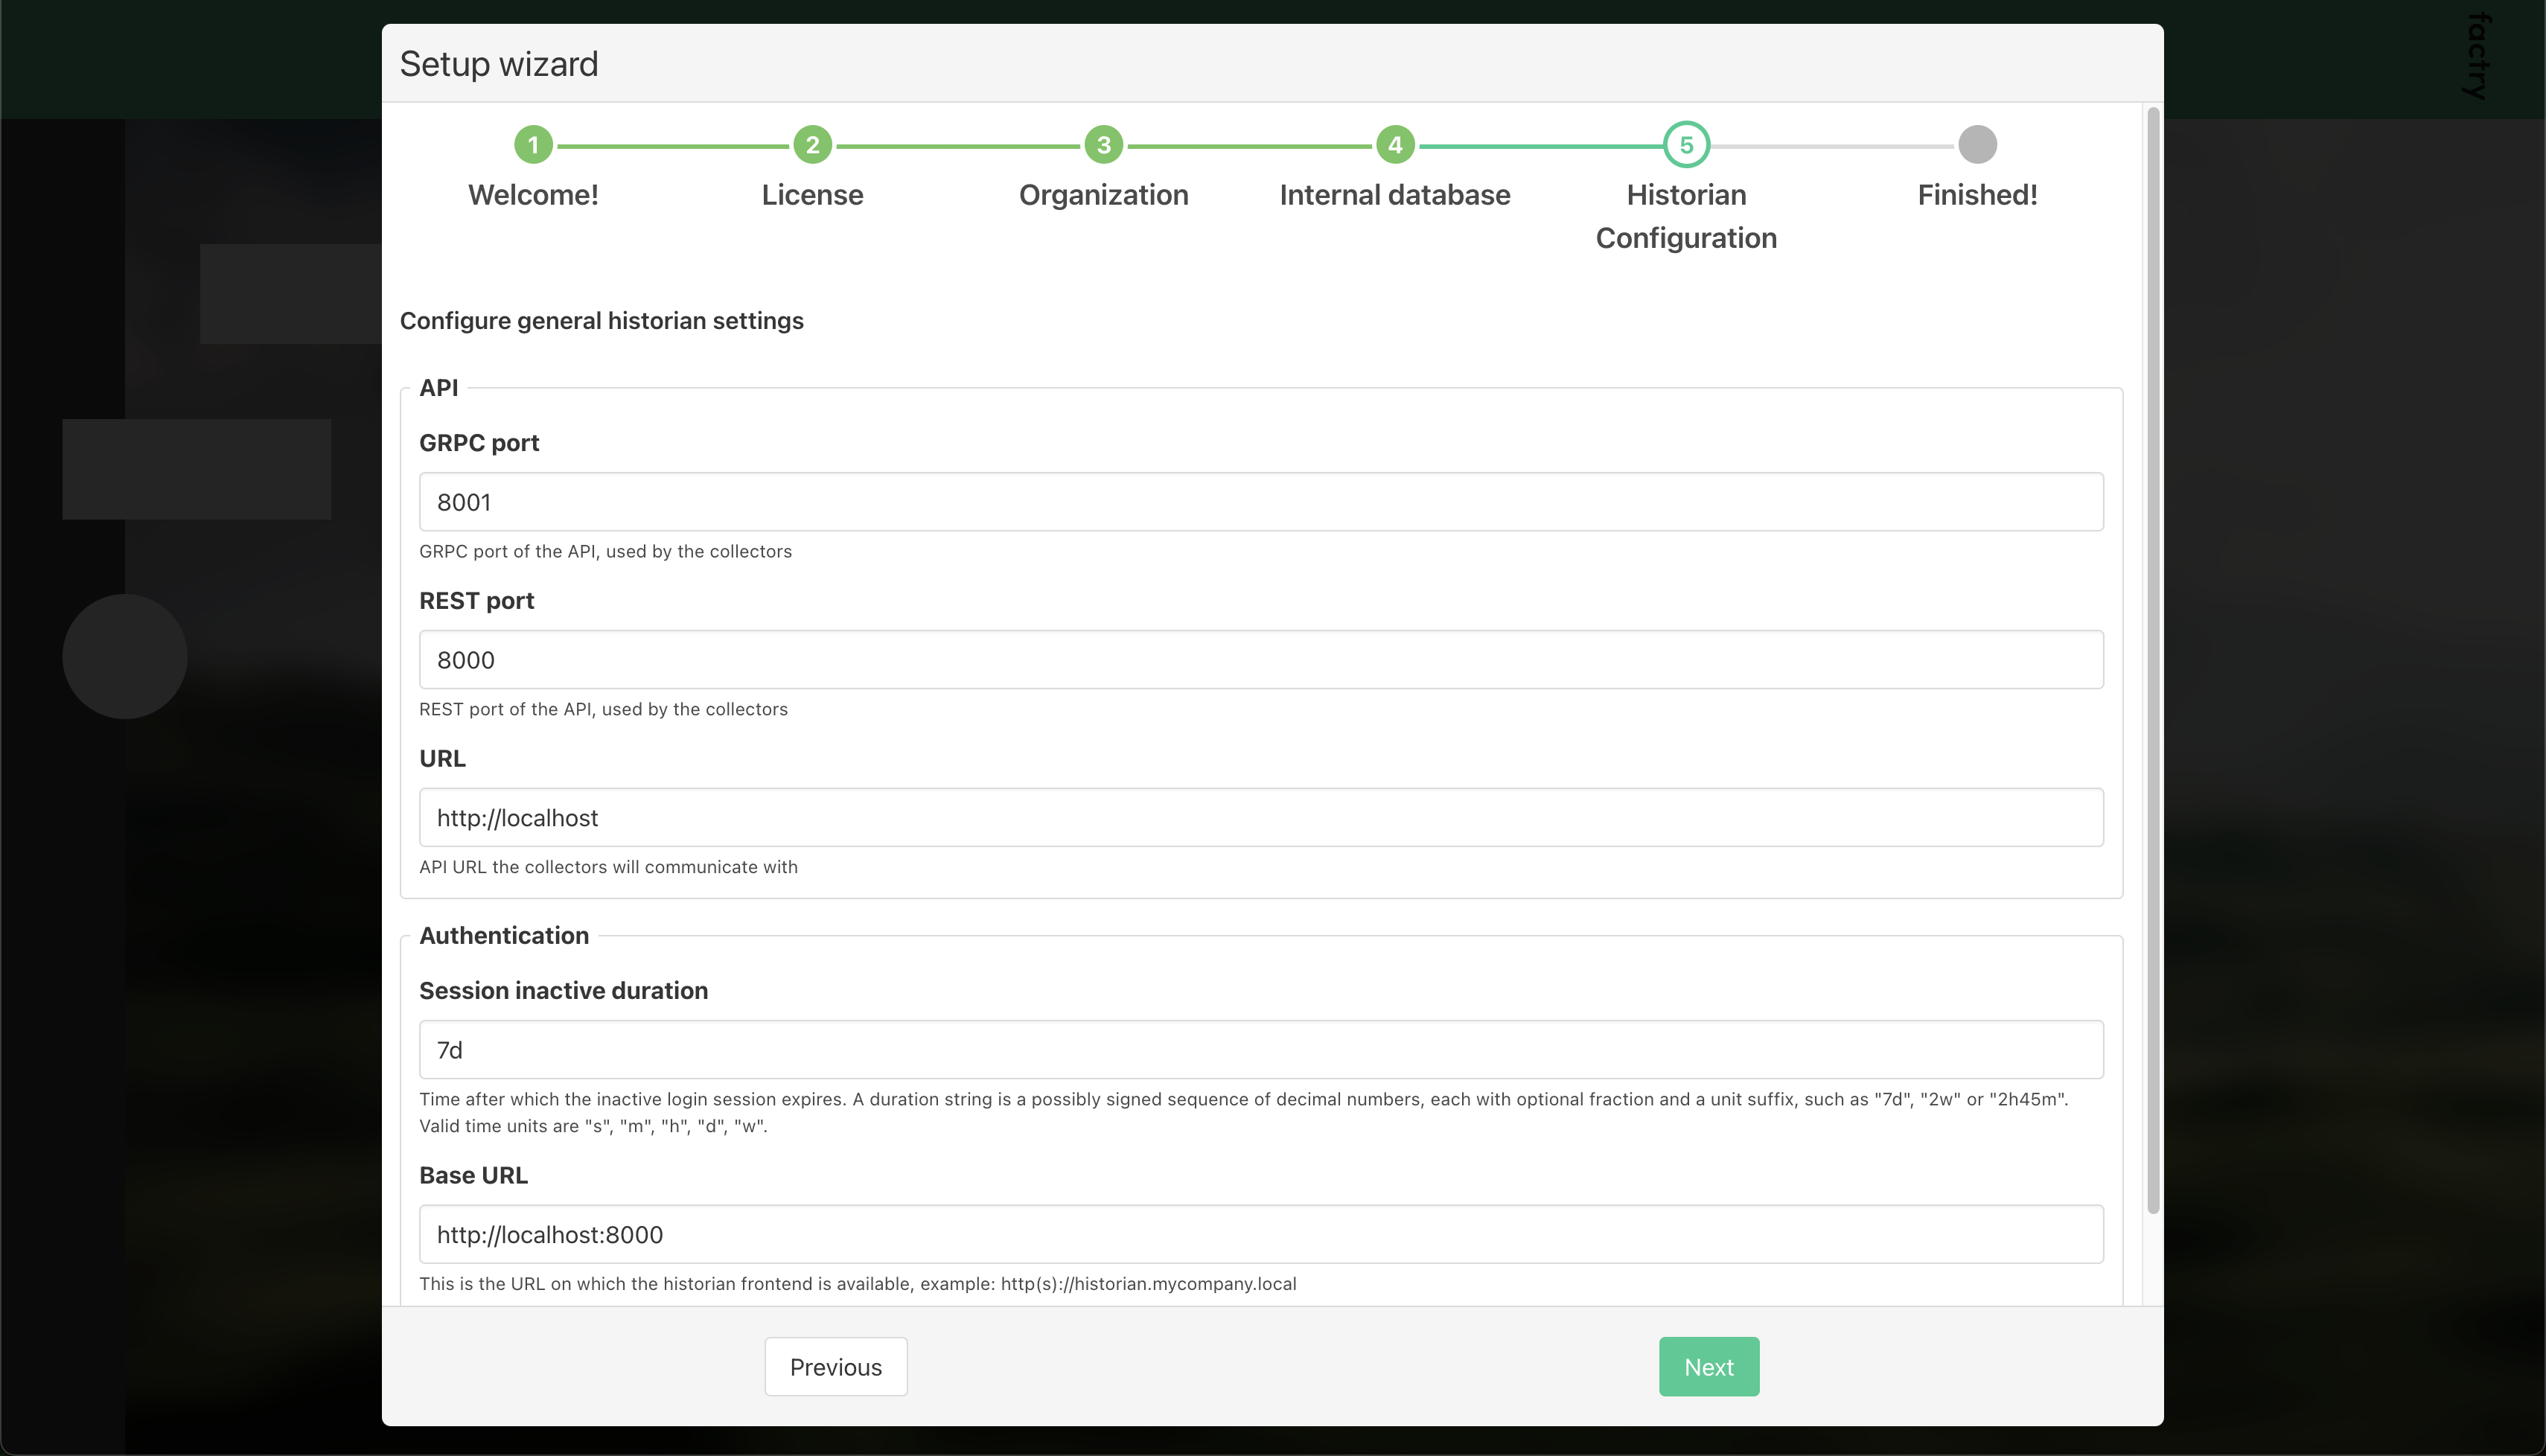
Set up the historian API settings for collector communication:
- Leave the default values for
GRPC portandREST port. - Update the
Hosttohttp://<IP of server>. - Set the
Authentication Base URLto the frontend URL.
Step 6: Completing the Setup
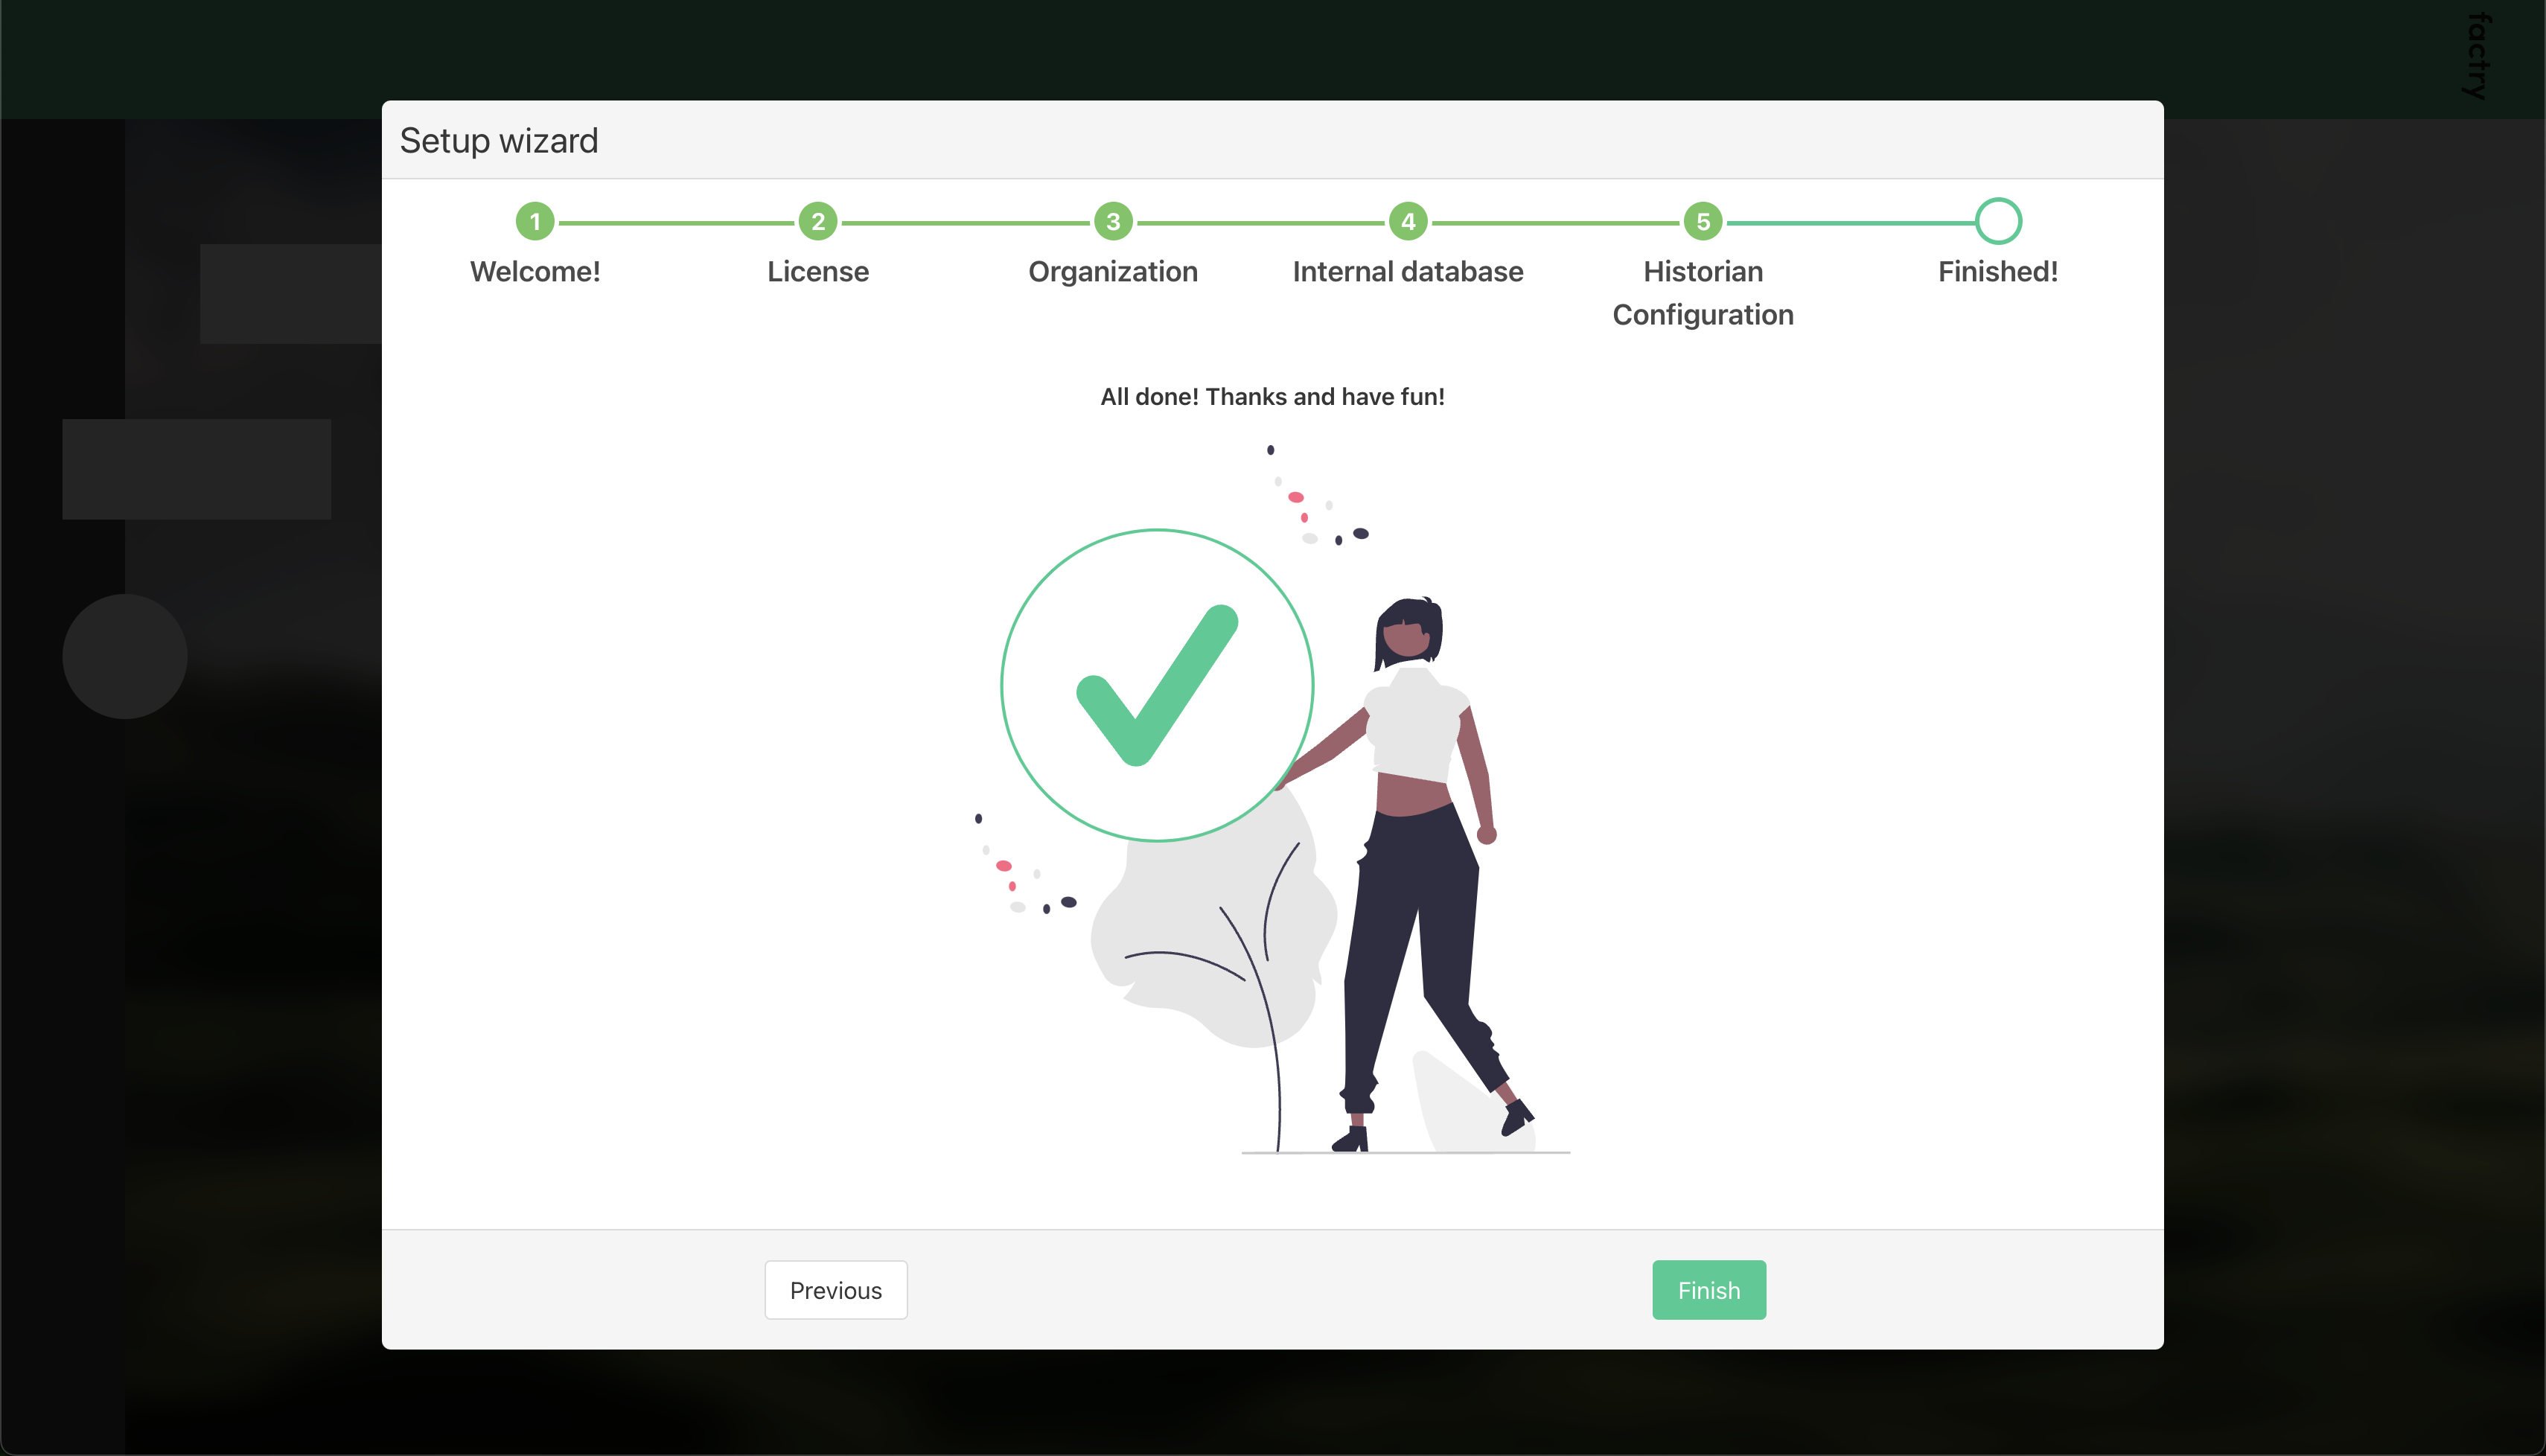
Click Finish to complete the setup wizard.
Next Steps
Congratulations! You have successfully set up Factry Historian. Next, consider configuring a time series database and starting data collection .